Supabase, Next.js and Builder.io
What are similar tools to Supabase that you may have used?
- Firebase - Most are trying to match features of Firebase. Offers a realtime JSON database and a document based database called Firestore. Closed source available on Google Cloud Platform.
- Apprite - Allows for a Docker image to be hosted anywhere that you want, with a MariaDB database.
- Nhost - Postgres Database hosted on Hasura.
Getting Started with Supabase
Once you sign in to Supabase’s dashboard you will be presented with the option to create a new Project ( you may also need to create an organization).
Live Coding
GitHub Repo - Final project that you can run locally, just make sure to add your own .env files.
Jon and I talk about how to setup Supabase for Authentication first. We talk about the Magic Link system where you can open a url in your email to login. We then dive into the code.
Connection
You must get your API keys from /project/[yourproject]/settings/api and add them to .env.
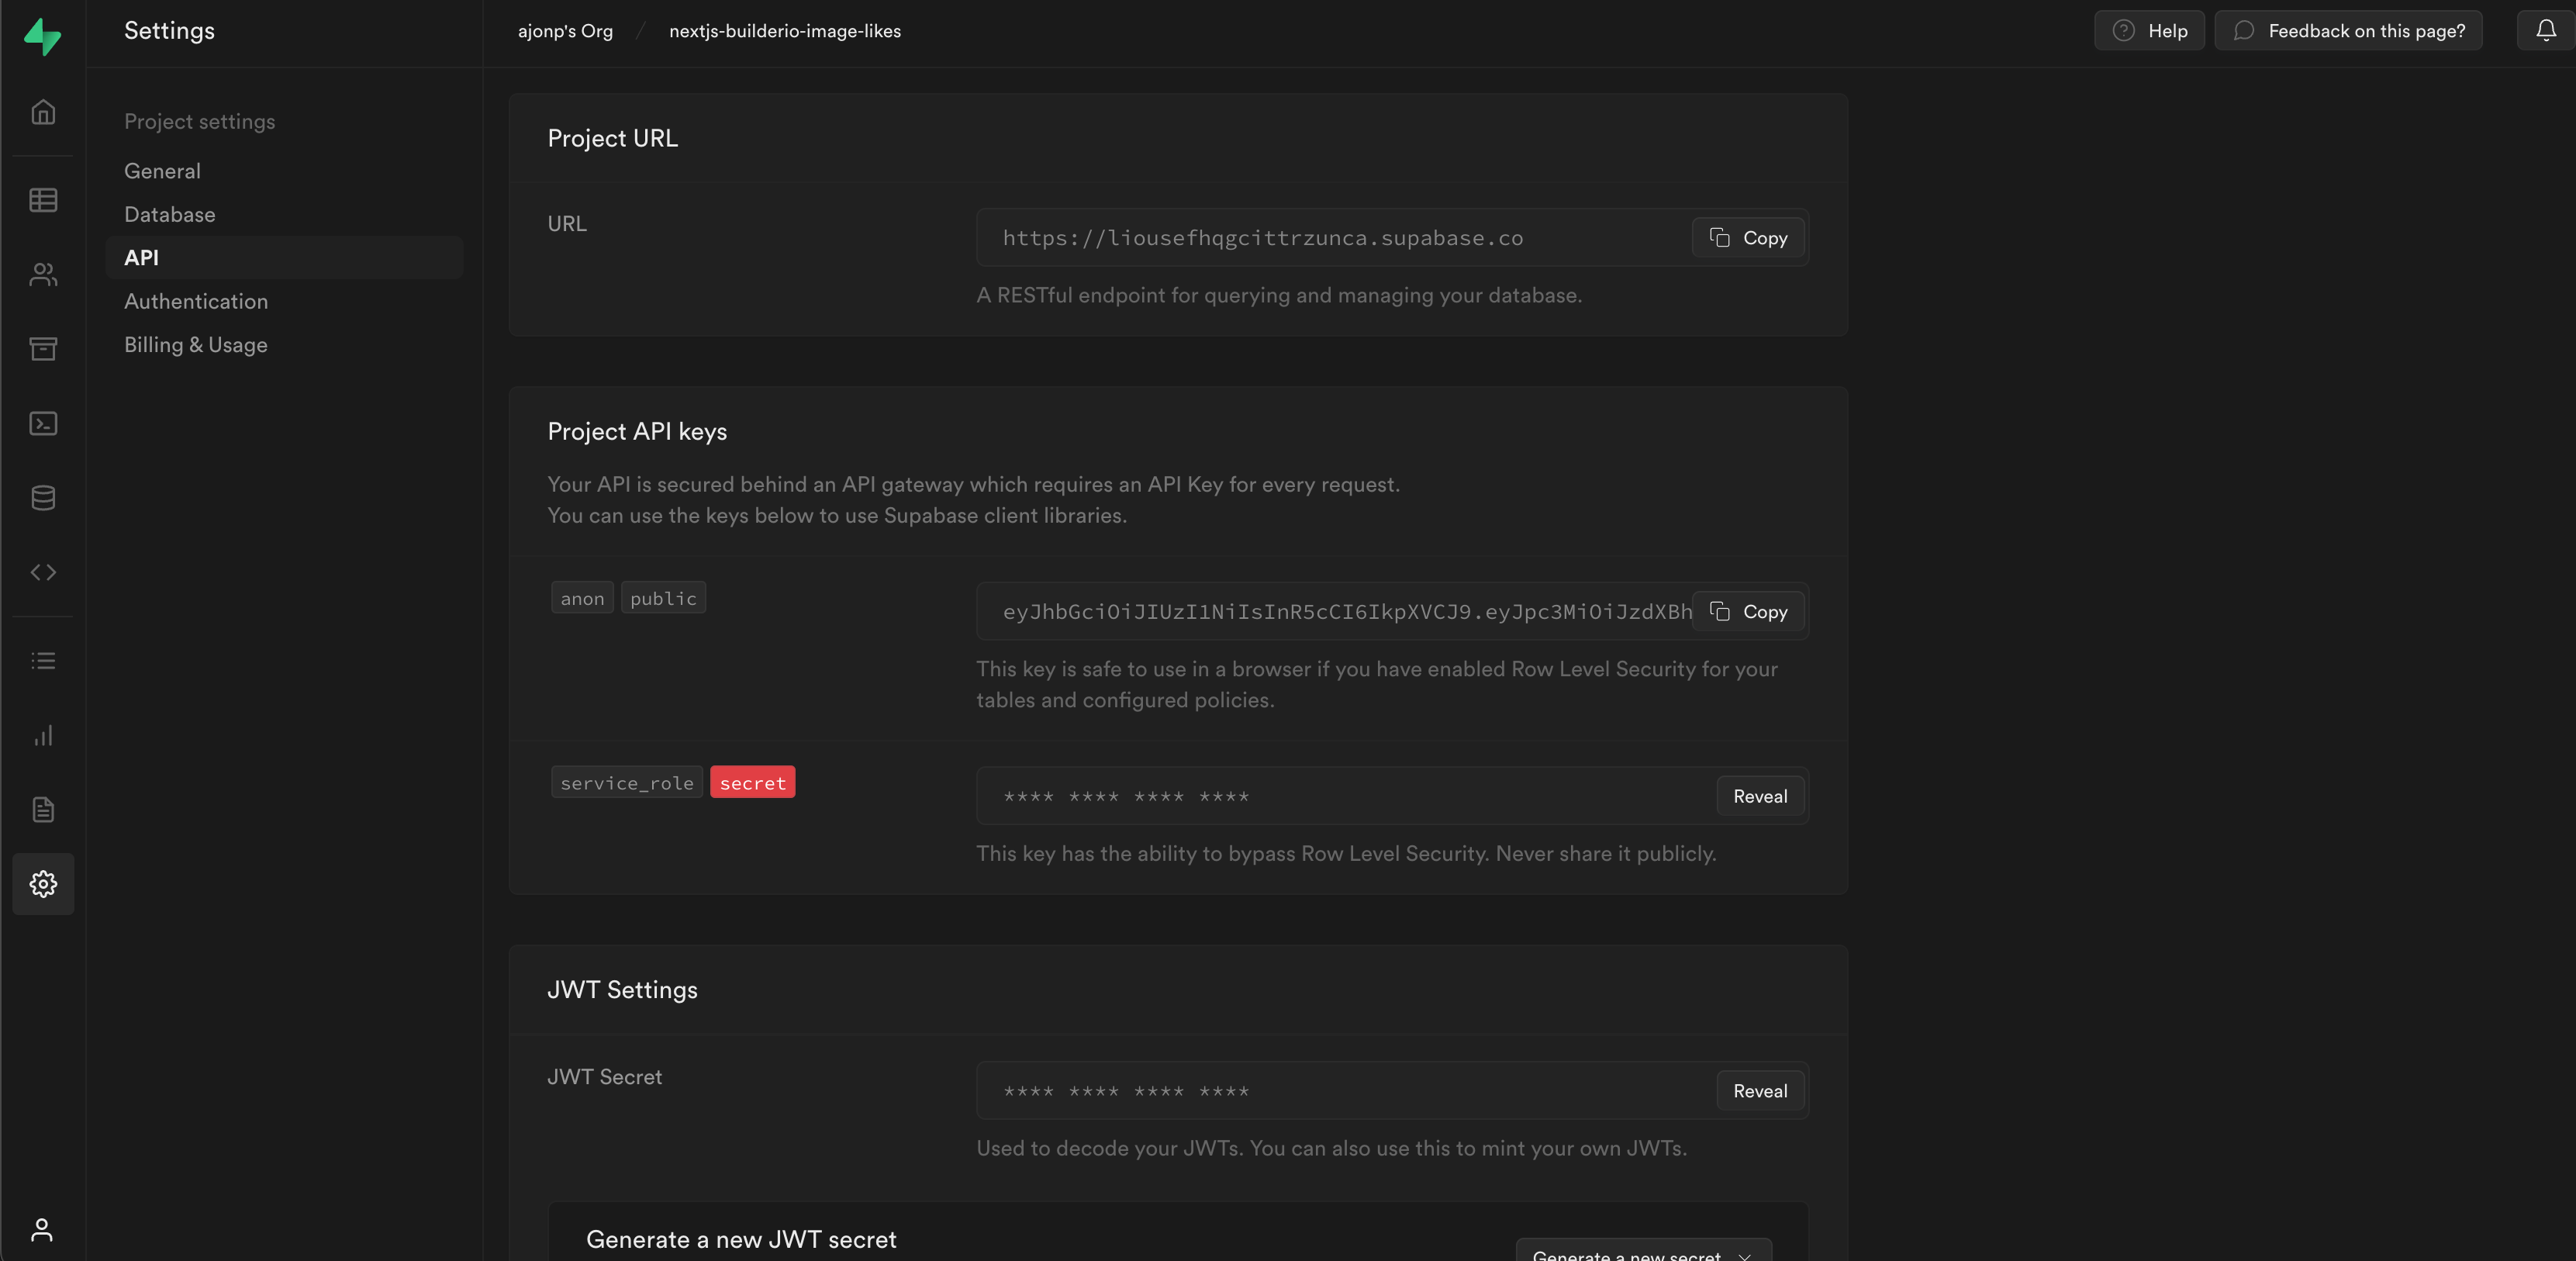
You will need to make sure you have a supabase instance created from your configuration to connect the client side of your application.
/utils/supabaseClient.js
import { createClient } from '@supabase/supabase-js';

const supabaseUrl = process.env.NEXT_PUBLIC_SUPABASE_URL;
const supabaseAnonKey = process.env.NEXT_PUBLIC_SUPABASE_ANON_KEY;

export const supabase = createClient(supabaseUrl, supabaseAnonKey);
Authentication
How to easily check for authenticated user and show a react component.
/pages/sports.js
import Sports from '../components/Sports';
import { useState, useEffect } from 'react';
import { supabase } from '../utils/supabaseClient';

export default function Home() {
	const [session, setSession] = useState(null);
	const [me, setMe] = useState(null);
	useEffect(() => {
		setSession(supabase.auth.session());

		supabase.auth.onAuthStateChange((_event, session) => {
			setSession(session);
		});
	}, []);
	return (
		<>
			<div className="container">
				{session ? <Sports session={session} /> : <div>Please Login</div>}
			</div>
		</>
	);
}
Data
In Supabase you can see data in your Postgres database.
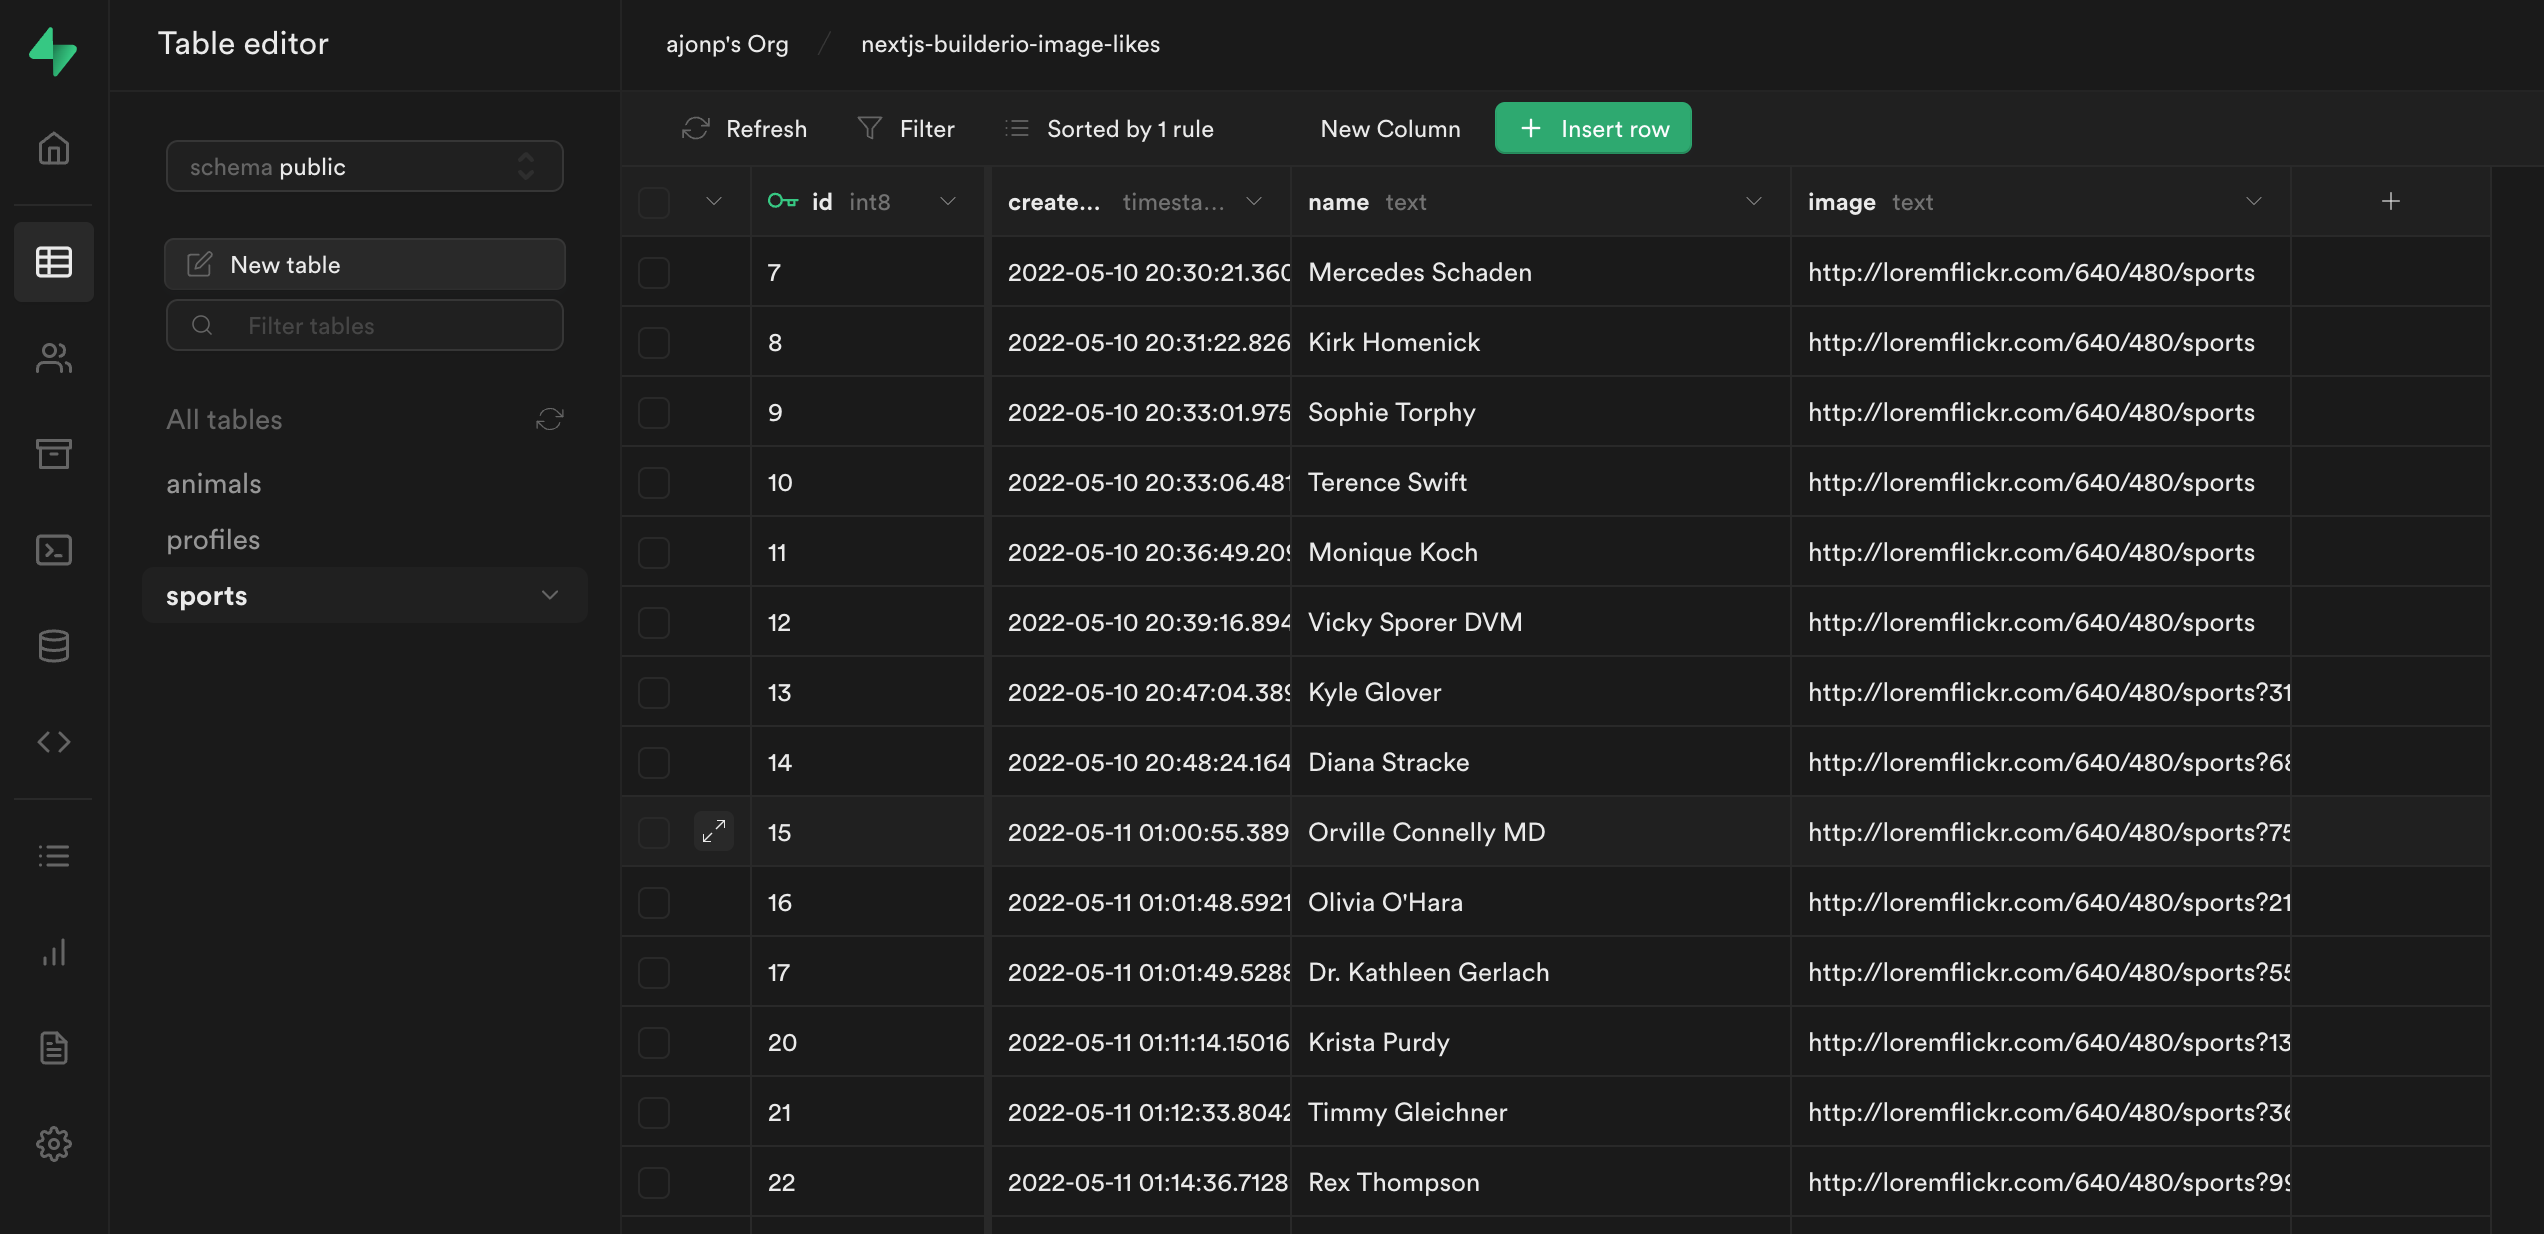
Supabase uses PostgREST to then allow you to access this table.
Access Data in the Client
This is our full sports page that brings in all of our sports table. There are a couple things to call out here.
- You can add sports by just calling
supabase.from('sports').insert - When you setup a listener you get the full payload
supabase.from('sports').on('*', (payload)
import { supabase } from '../utils/supabaseClient';
import { faker } from '@faker-js/faker';
import { useEffect, useState } from 'react';
import Image from 'next/image';
export default function Sports({ session }) {
const [sports, setSports] = useState([]);
useEffect(() => {
const sub = supabase
.from('sports')
.on('*', (payload) => {
setSports((current) => [payload.new, ...current]);
// supabase
// .from('sports')
// .select('*')
// .order('created_at', { ascending: false })
// .then((d) => console.log(d));
})
.subscribe();
supabase
.from('sports')
.select('*')
.order('created_at', { ascending: false })
.then((d) => setSports(d.data));
return () => {
if (sub) sub.unsubscribe();
};
}, []);
const addSports = async () => {
const name = faker.name.findName();
const image = faker.image.sports(null, null, true);
await supabase.from('sports').insert([{ name, image }]);
};
return (
<div>
{session && (
<div>
<button onClick={() => addSports()}>Add Sports</button>
<ul style={{ display: 'grid', gridTemplateColumns: '1fr 1fr 1fr 1fr' }}>
{sports?.map((sport) => (
<li key={sport.id} style={{ display: 'flex', flexDirection: 'column' }}>
{sport.image && (
<div>
<Image
loader={(image) => image.src}
src={sport.image}
width="100px"
height="100px"
alt={sport.name}
/>
</div>
)}
<div>{sport.name}</div>
</li>
))}
</ul>
</div>
)}
</div>
);
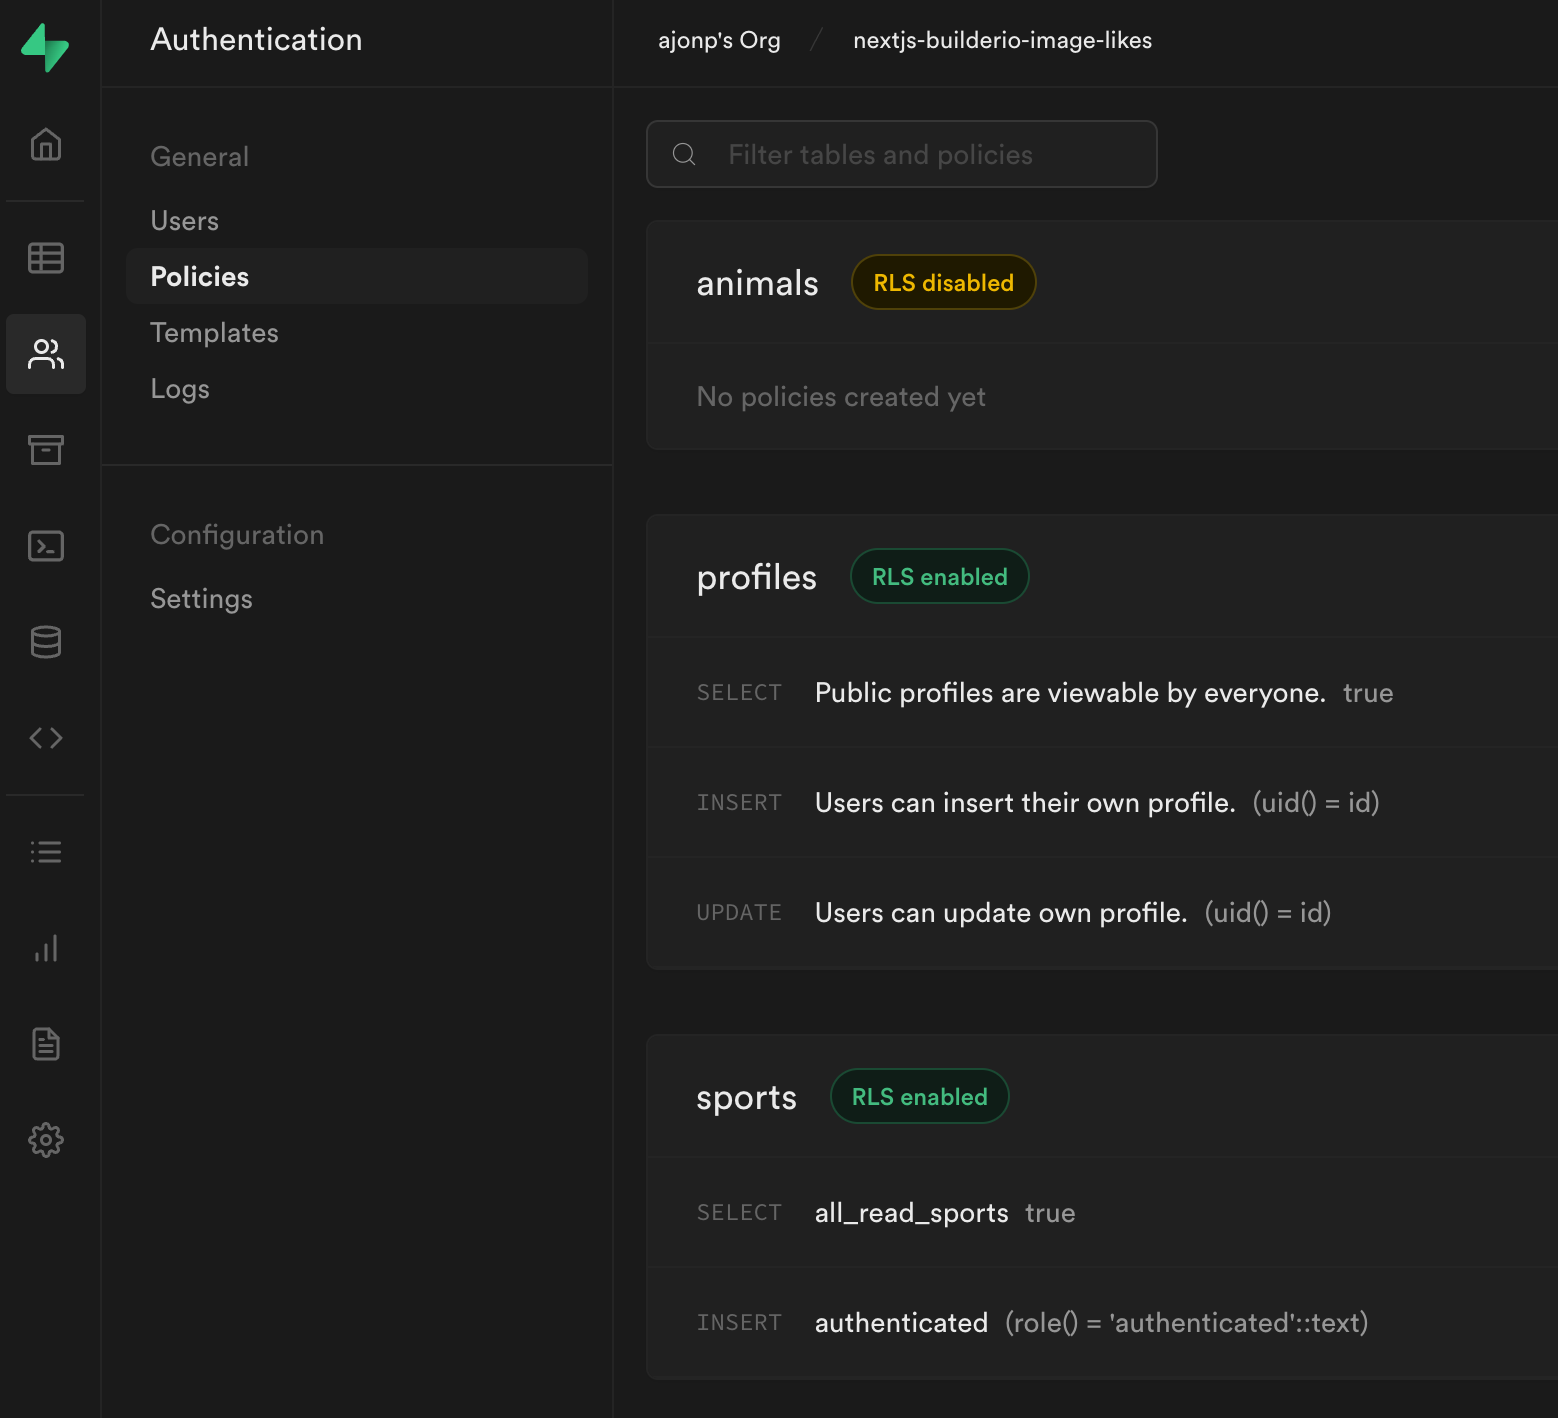
}Policies
In order to protect your data you need to setup Policies. These are pretty awesome because they can be written at any level within your table.
Builder.io
You can access Builder.io’s Dashboard. If you hit (CMD or CTRL) + P, and type in API this will give you your API key.
In Next.js getStaticProps you can get all the data for your page. This is where we willl look for pages that are created in builder. Pass that data to the client.
const page =
	(await builder
		.get('page', {
			apiKey: 'e89fbe16533145d4ae320467ed536a91',
			userAttributes: isPersonalizedRequest
				? {
						// if it's a personalized page let's fetch it:
						...getTargetingValues(params.path[0].split(';').slice(1))
				  }
				: {
						urlPath: '/' + (params?.path?.join('/') || '')
				  },
			cachebust: true
		})
		.toPromise()) || null;
Get our sports data from Supabase and pass to client.
const { data: sports } = await supabase
	.from('sports')
	.select('*')
	.order('created_at', { ascending: false });
Then display both our page and data using a single component.
<BuilderComponent renderLink="{Link}" model="page" content="{page}" data="{{" sports }} />That is all it takes to hook up Builder.io and start interacting with the data from Supabase using the state.