Google Cloud Repositories CI/CD

We will continue our hello world example from Firebase Project Hosting and extend this into publishing our site to firebase using CI/CD. The final hosting example will create the site in the initial project folder (in my case ajonp-lesson-1)
- Source Code Repositories Pricing
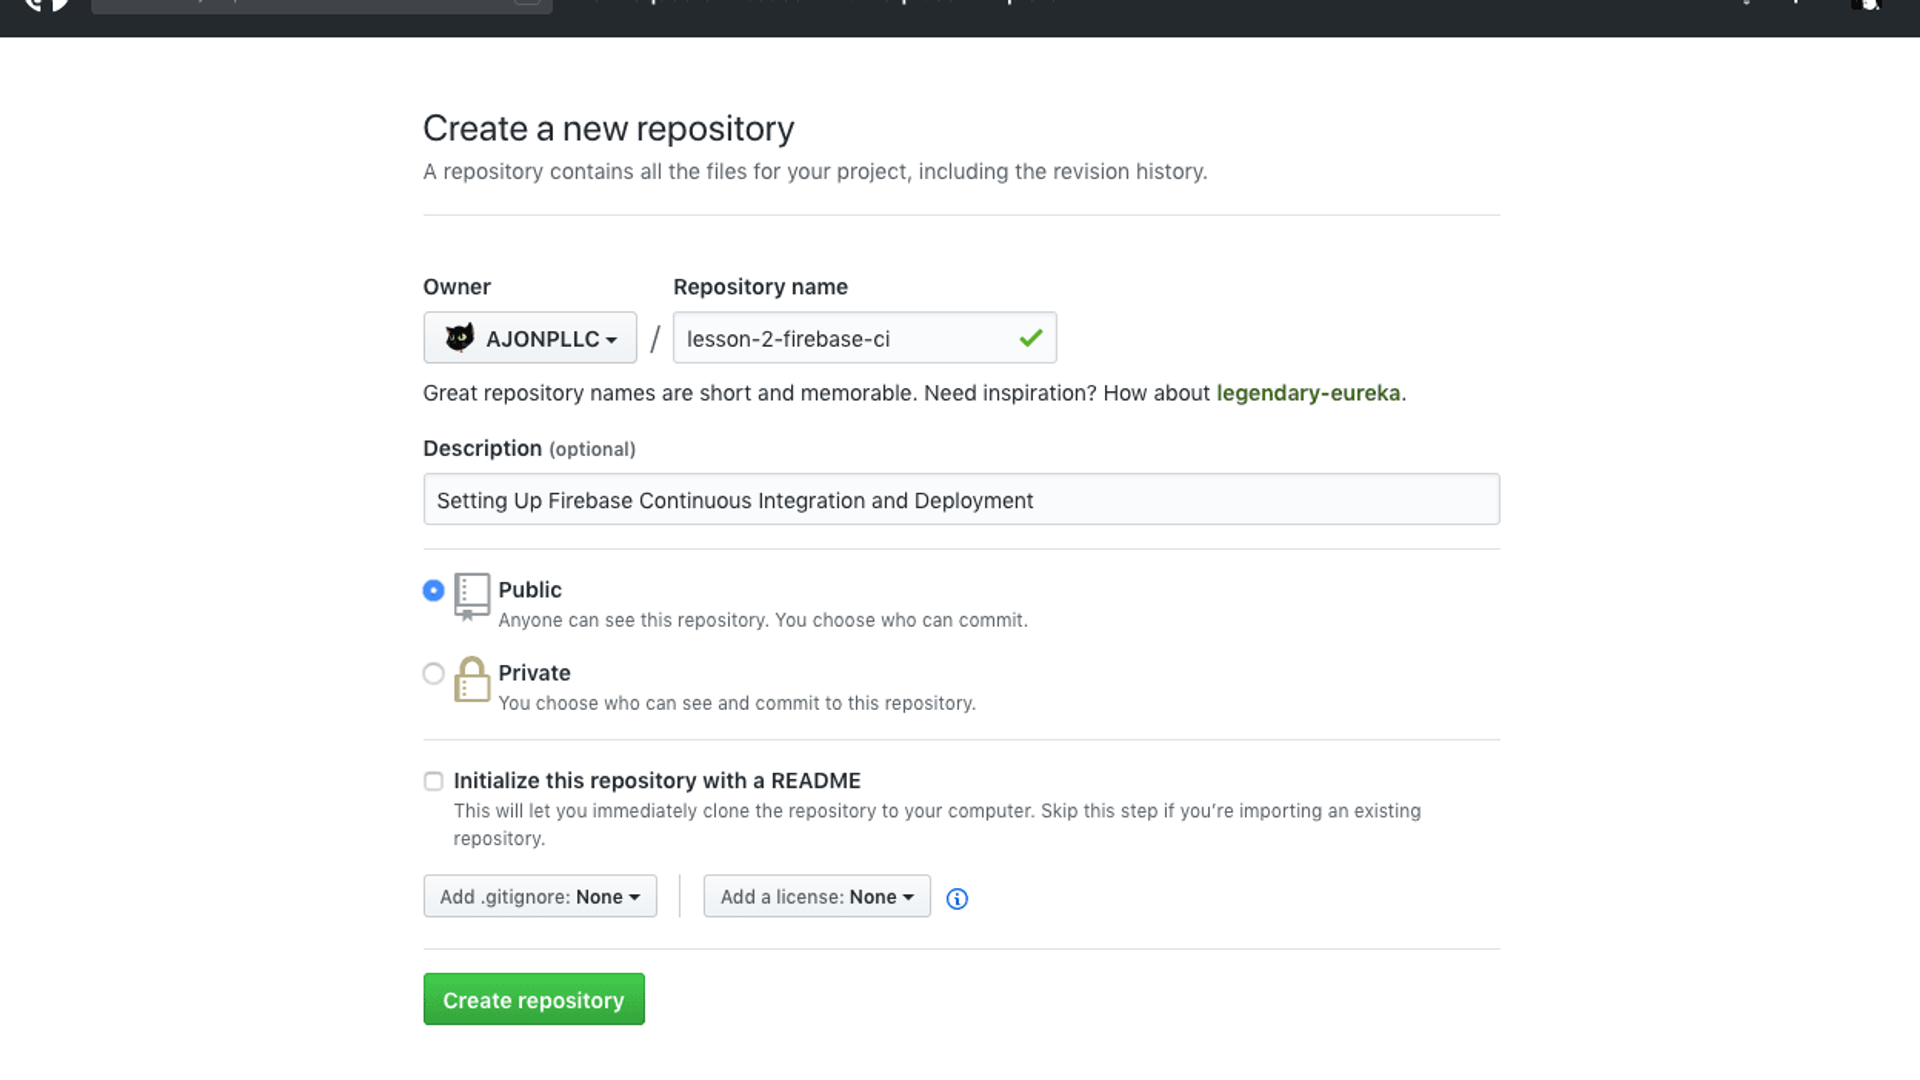
- Create Github Repository
- Create Google Cloud Source Repository
- Create Dockerfile for uploading to Firebase
- Create cloudbuil.yaml for Google Cloud Build to trigger build
- Setup Triggers
- Commit to cause a trigger to run
- Update content to change Hello World
Why do I use Google Source Repositories?
Because it is cheaper! (and I develop on a shoestring budget) The negative is that it is not as straight forward to use as git clone

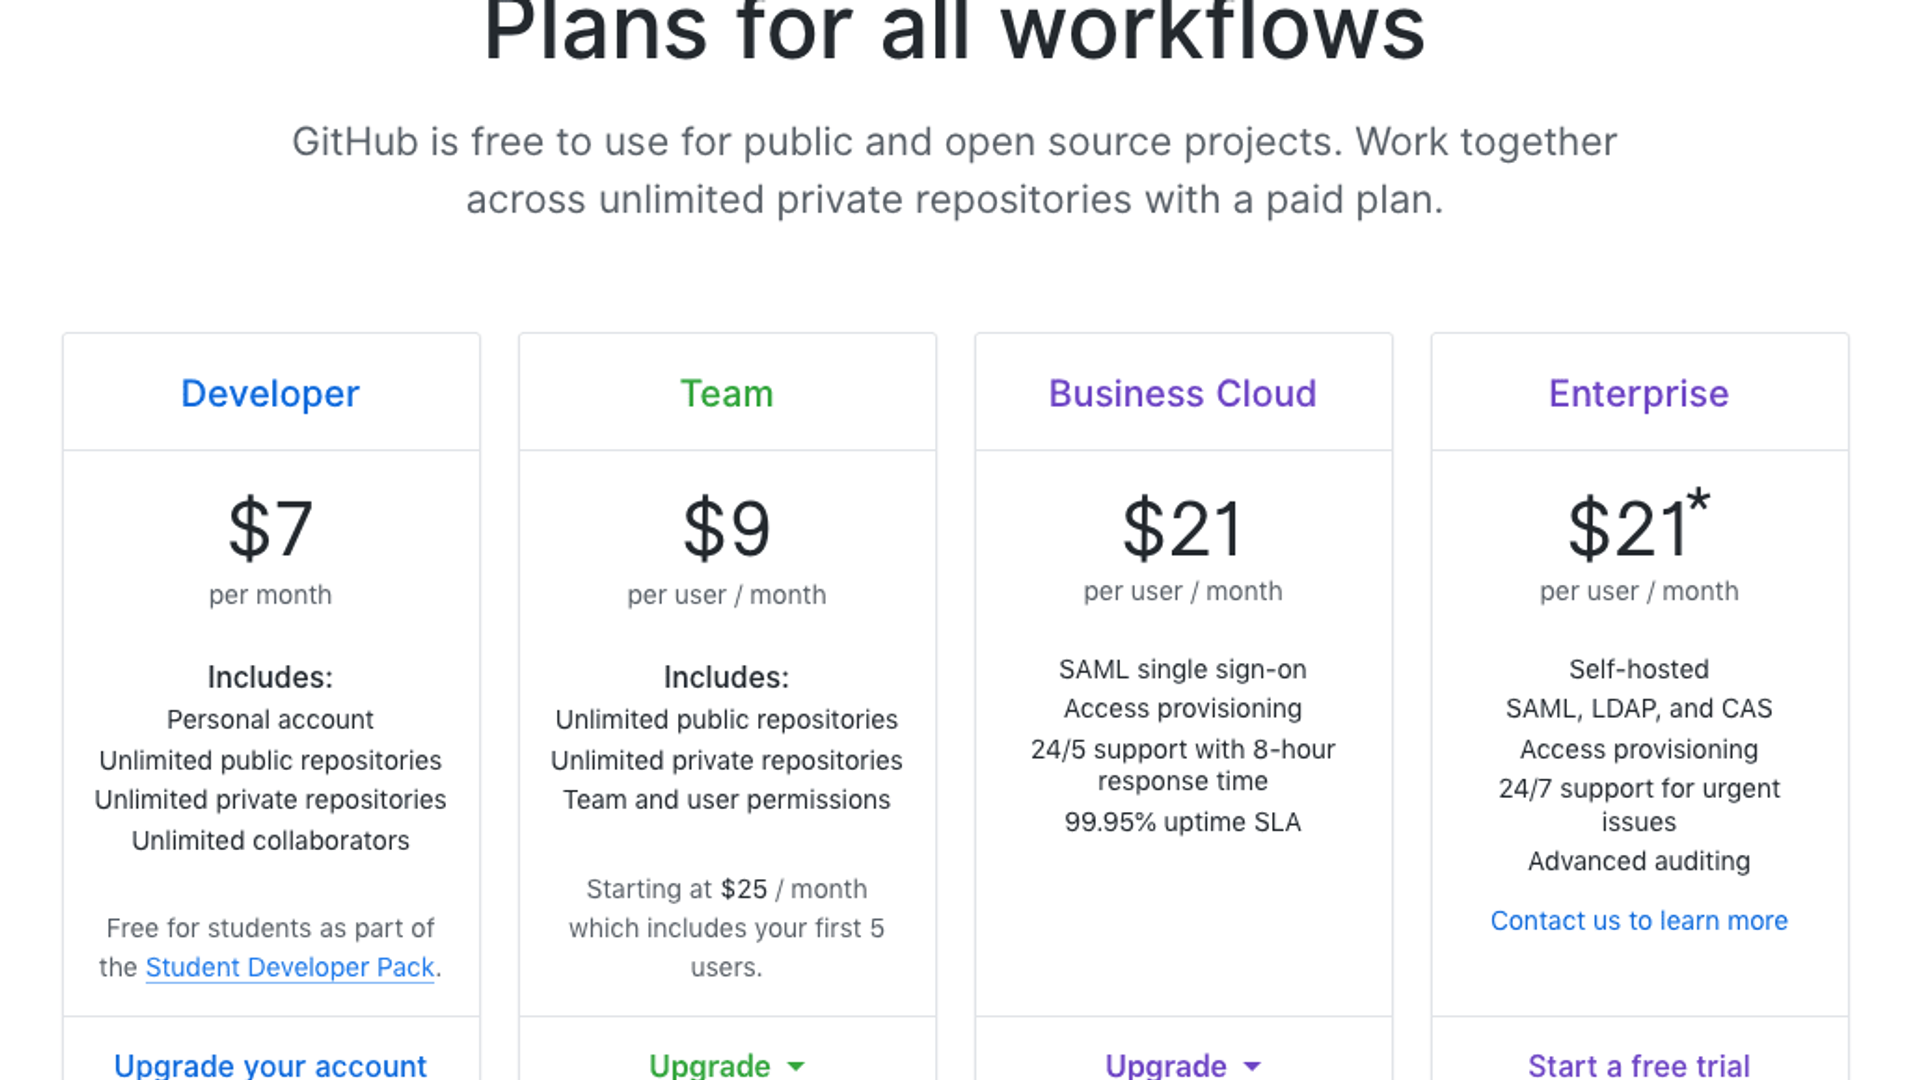
Github
Don't get me wrong I think that $7 a month is a great deal, but you have to pay it the minute you want to start using private repos.

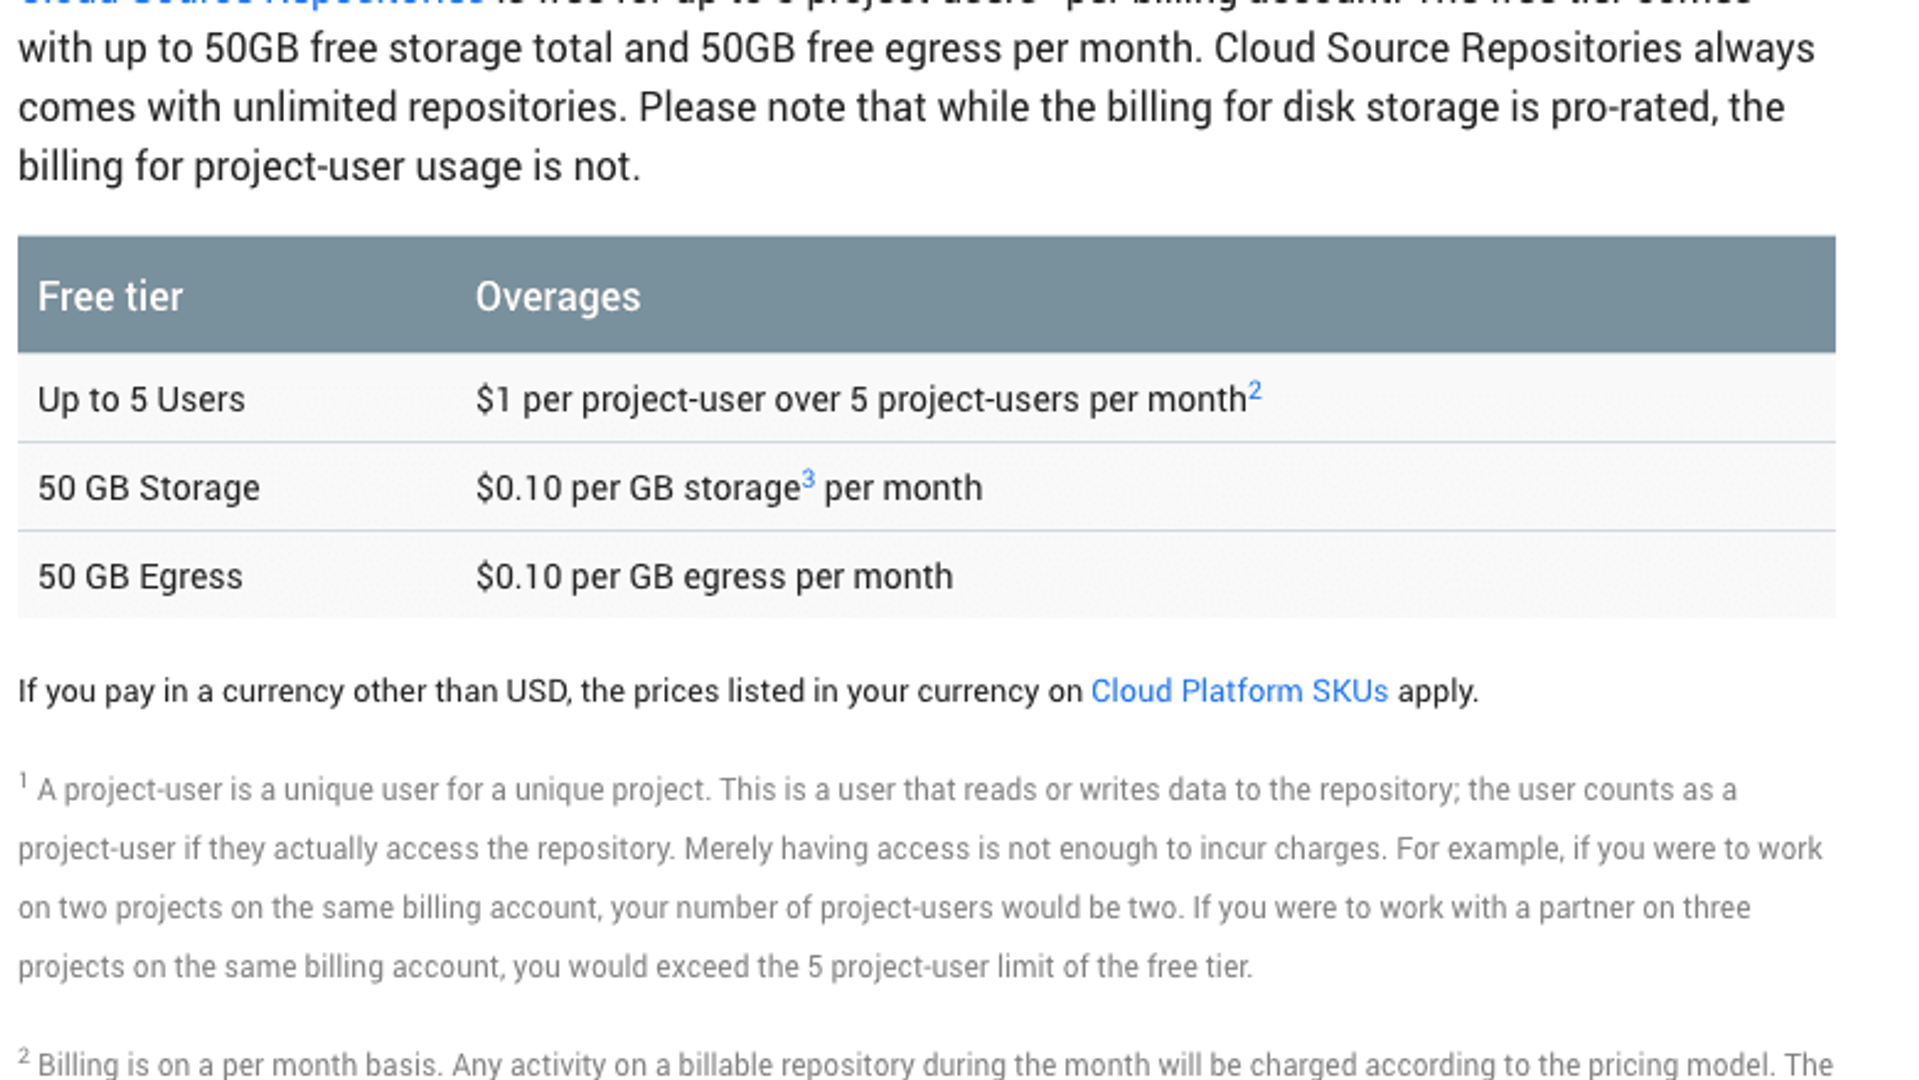
Google Cloud Source Repositories
Basically free until you scall to a large level.
Create Repository
Select new
Create name for repo
Clone our existing "Hello World" project
git clone https://github.com/AJONPLLC/lesson-1-firebase-project.git cd lesson-1-firebase-project/
Remove remote references
When you are cloning an existing repository you need to cleanup the remote reference to store this into a new repository.
Lets look at the remotes currently
This should show something like
origin [https://github.com/AJONPLLC/lesson-1-firebase-project.git](https://github.com/AJONPLLC/lesson-1-firebase-project.git) (fetch)
origin [https://github.com/AJONPLLC/lesson-1-firebase-project.git](https://github.com/AJONPLLC/lesson-1-firebase-project.git) (push)
Let's remove this remote
git remote rm origin
Add Newly created repo
git remote add origin https://github.com/AJONPLLC/lesson-2-firebase-ci.git git push -u origin master

Google Cloud
As of right now December 3, 2018 Google has this message: This version of Cloud Source Repositories will permanently redirect to the new version of Cloud Source Repositories starting December 3rd. Try the new version today for fast code search, an improved code browser, and much more.
Google Cloud Source Repositories
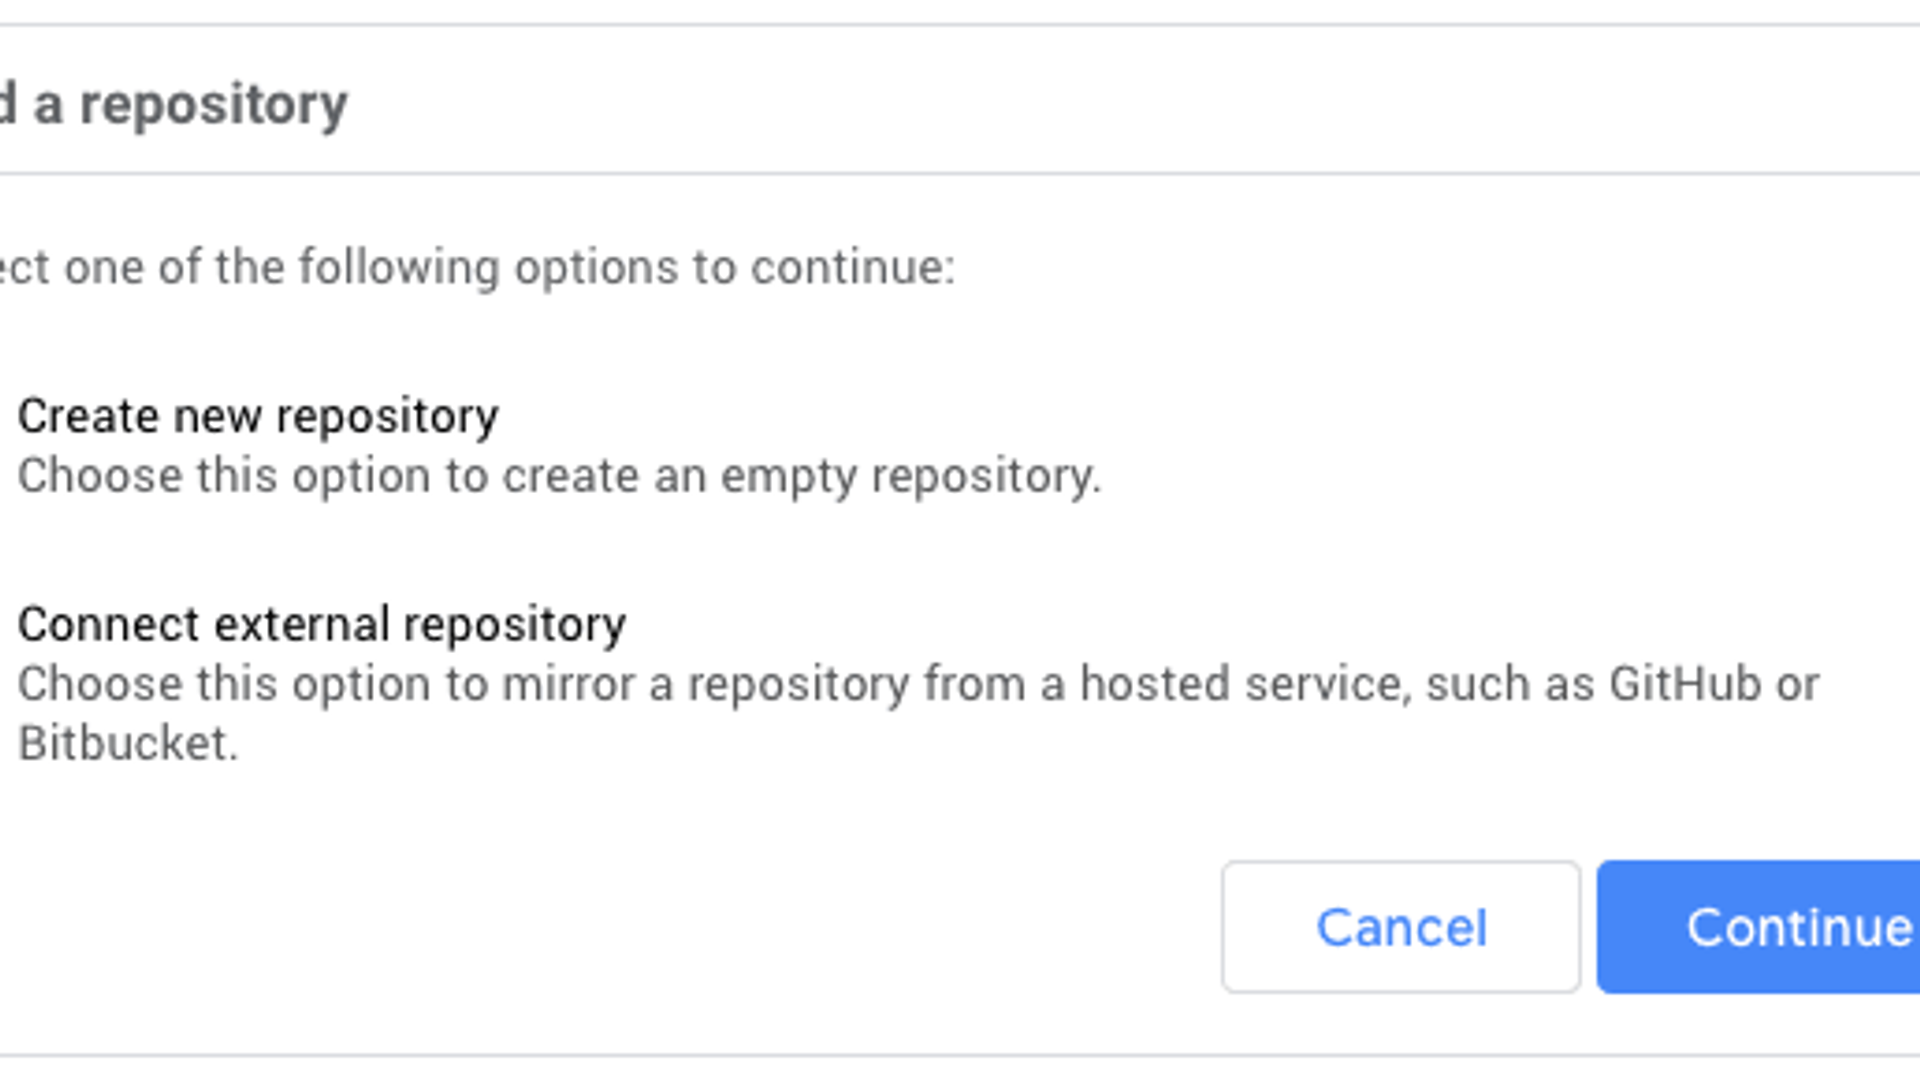
Open Source Cloud Repositories. Now you can select "Add repository".
Add Google Cloud Repository (standalone)
Select "Create new repository" option.
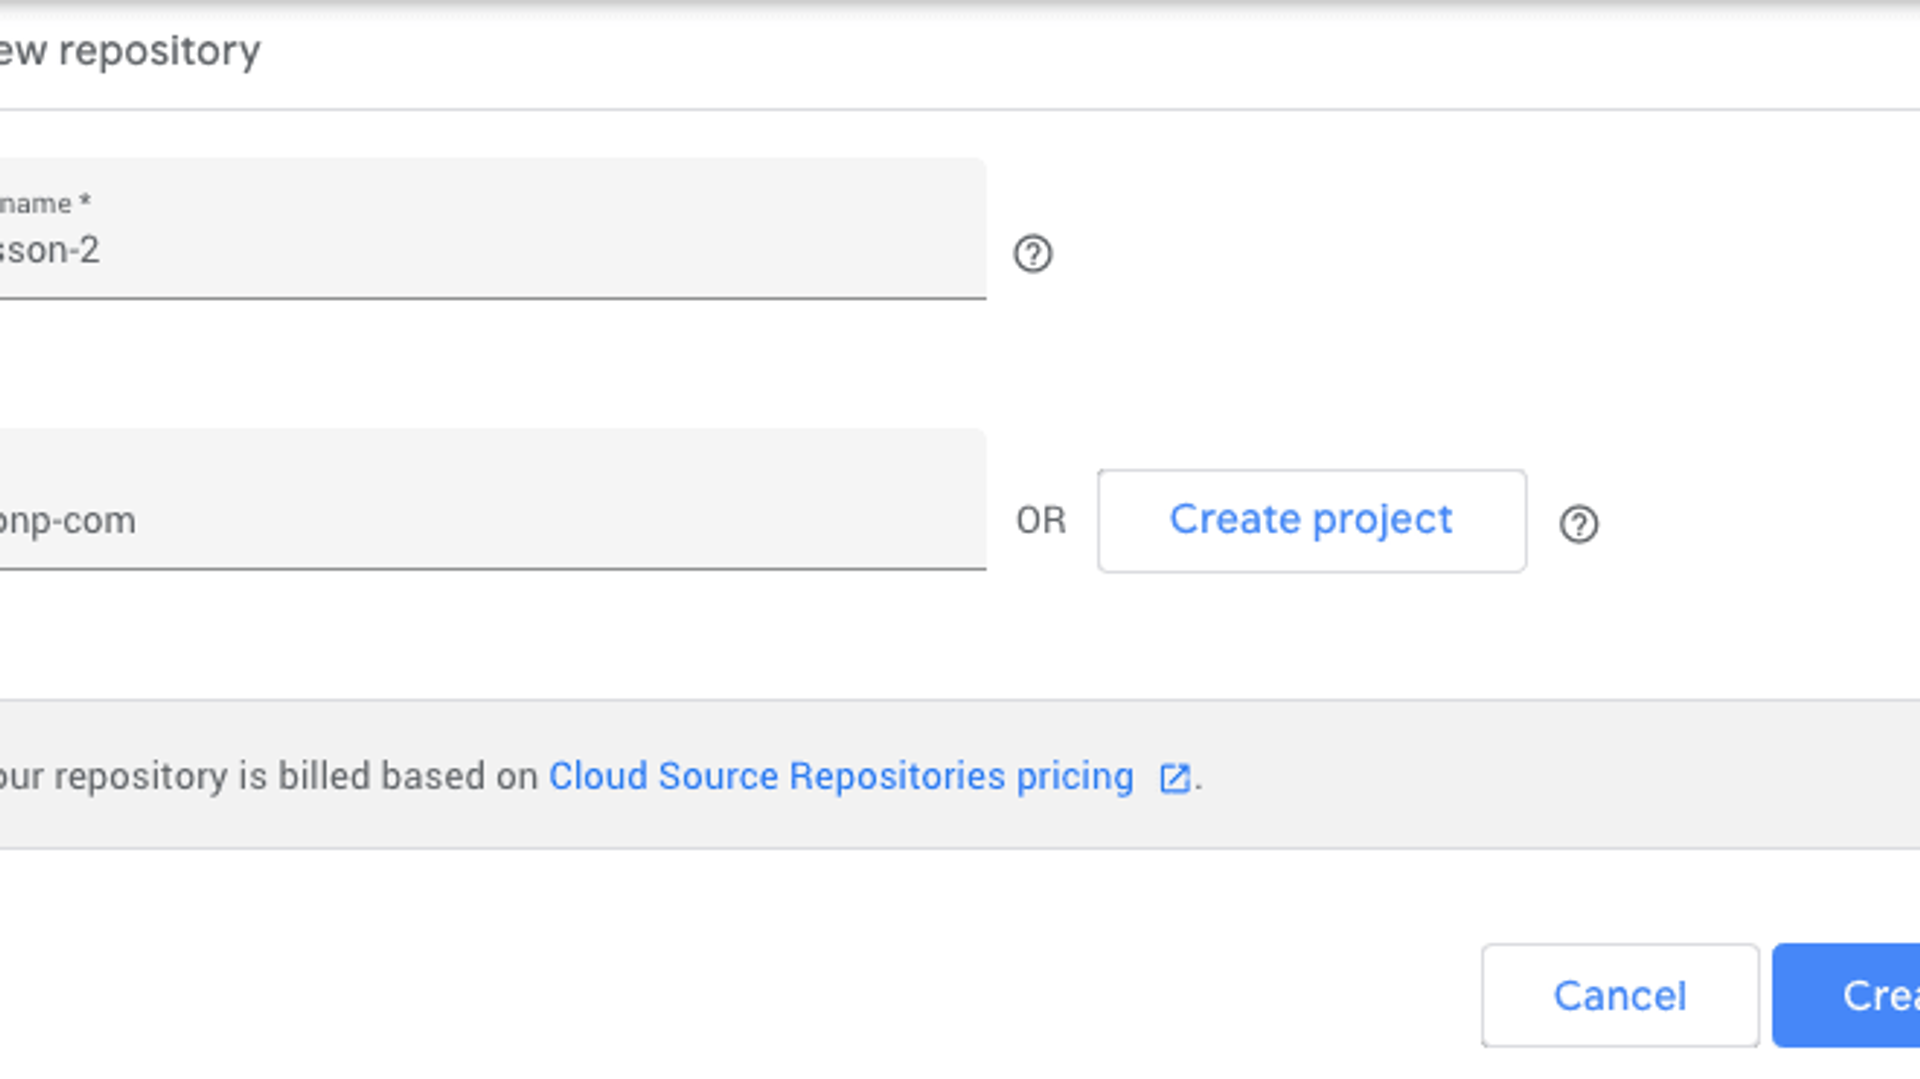
From the first lesson you should have a project that was created from firebase, you can use the dropdown under "Project" to select. Then Click "Create" (Not Create Project, unless you want this to be seperated).
Add Code to Google Cloud Repository
Typically on a fresh repo you would now clone this and start working.
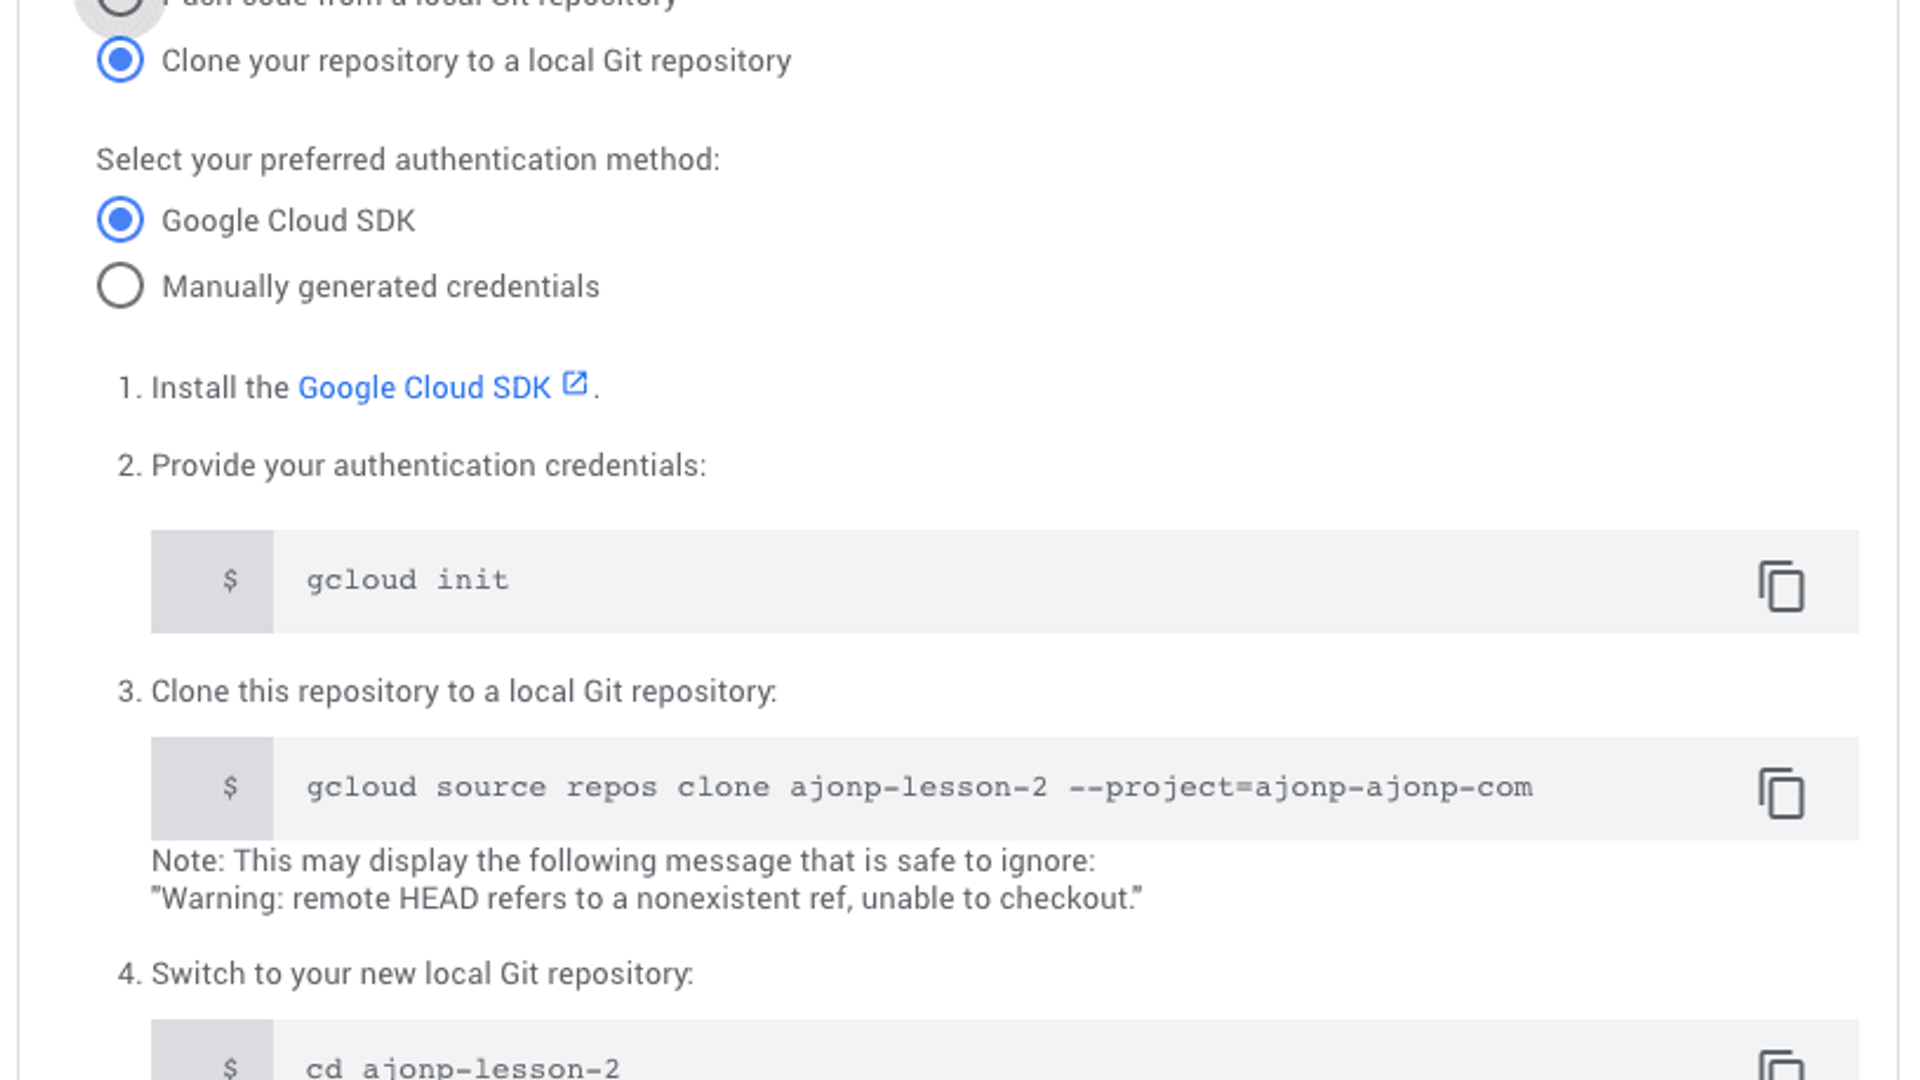
For this example we are going to select "Push code from a local Git repository" because we have an example we are already working with.
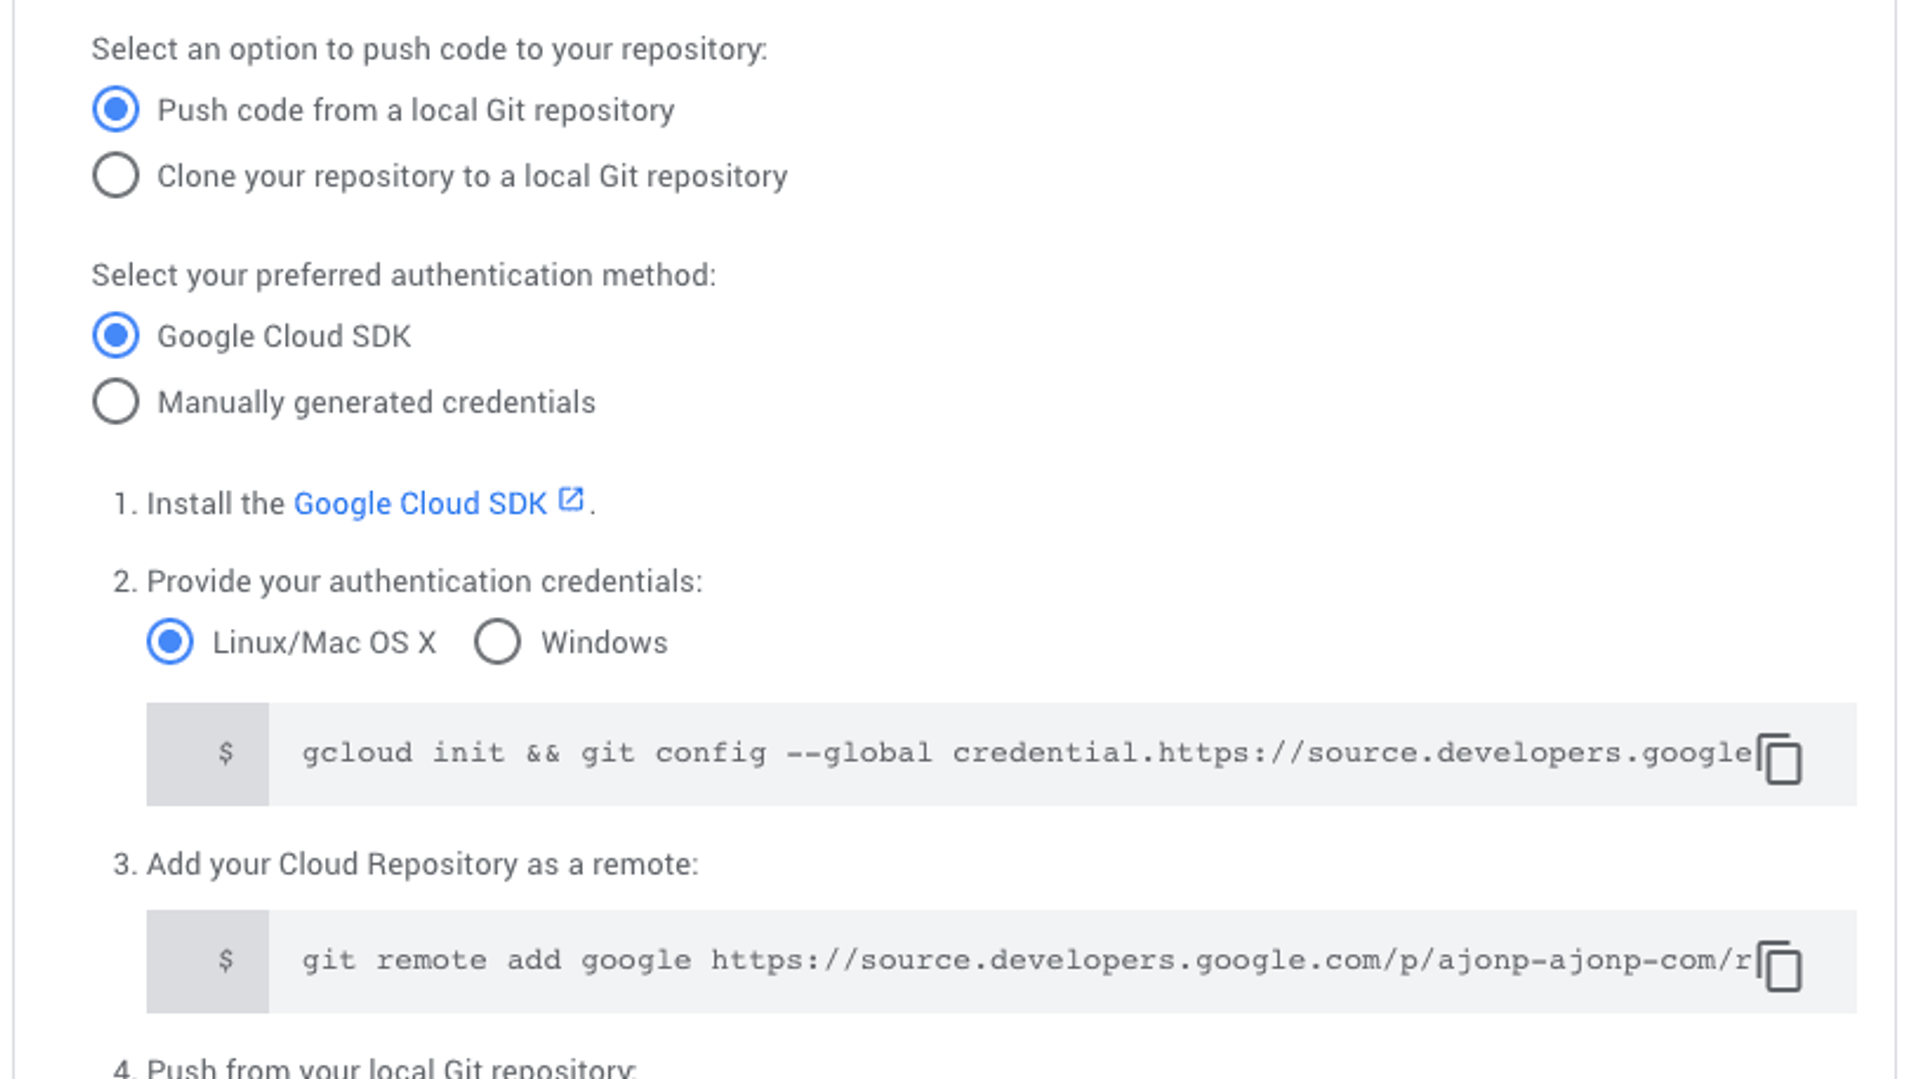
You can skip the first command (unless you skipped both the Lesson 1 and hosting in GitHub).
First verify that we have the correct origin for your project (mine should be lesson-2 not lesson-1)
origin https://github.com/AJONPLLC/lesson-2-firebase-ci.git (fetch) origin https://github.com/AJONPLLC/lesson-2-firebase-ci.git (push)
Now add Google Source Repository as an additional remote location
git remote add google https://source.developers.google.com/p/ajonp-ajonp-com/r/ajonp-lesson-2
Look at your remotes once again and you should see two.
google https://source.developers.google.com/p/ajonp-ajonp-com/r/ajonp-lesson-2 (fetch) google https://source.developers.google.com/p/ajonp-ajonp-com/r/ajonp-lesson-2 (push) origin https://github.com/AJONPLLC/lesson-2-firebase-ci.git (fetch) origin https://github.com/AJONPLLC/lesson-2-firebase-ci.git (push)
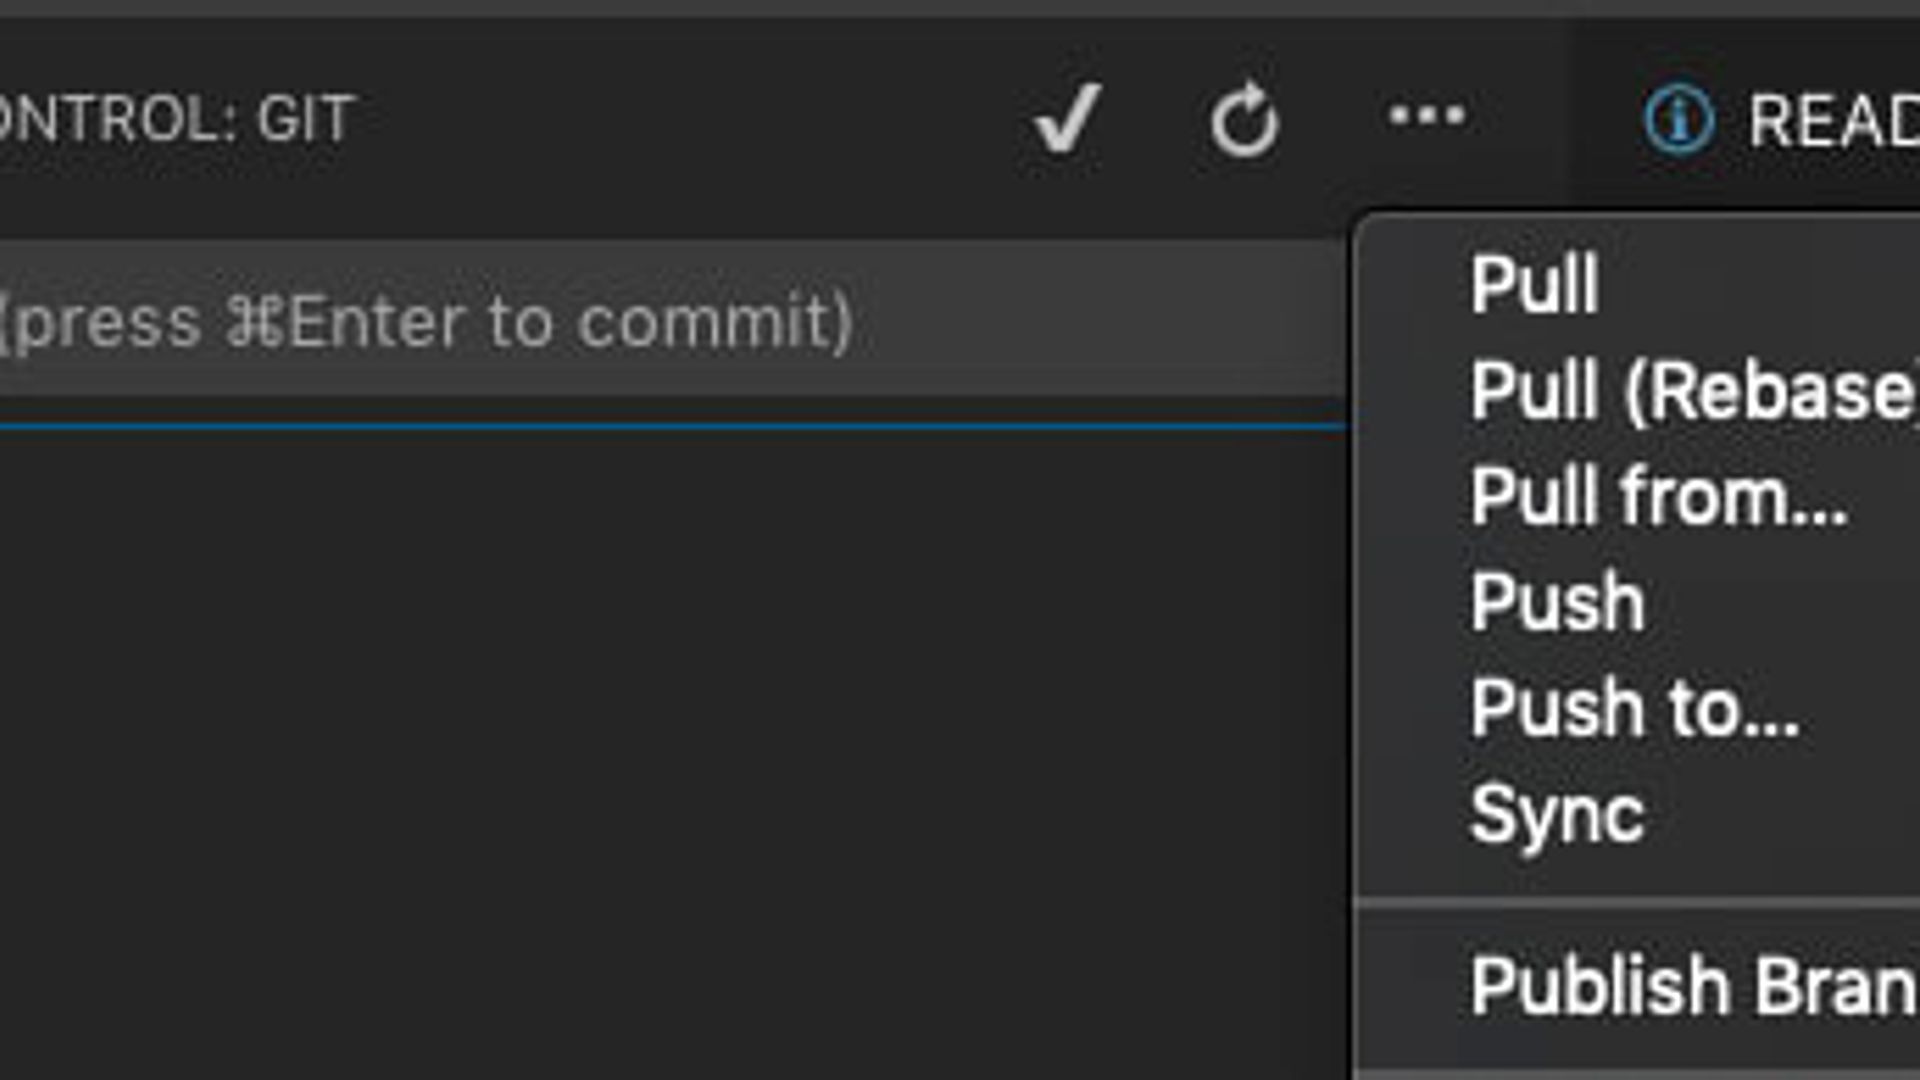
Helpful hint for multiple remotes in VSCode, you can access the git tab, then "...", then "Push to...". This will show you the remotes.
To remove your GitHub based remote you can execute, however we will not do this now as we want to test pushing code to both repositories.
git remote remove origin
Create Dockerfile
I like to create a folder for all of my dockerfiles, this allows you to easily locate and access them all. There are many references in the Official Guide, but they always seem to place this file alongside your cloudbuild.yaml file (in my opinion this confuses things).
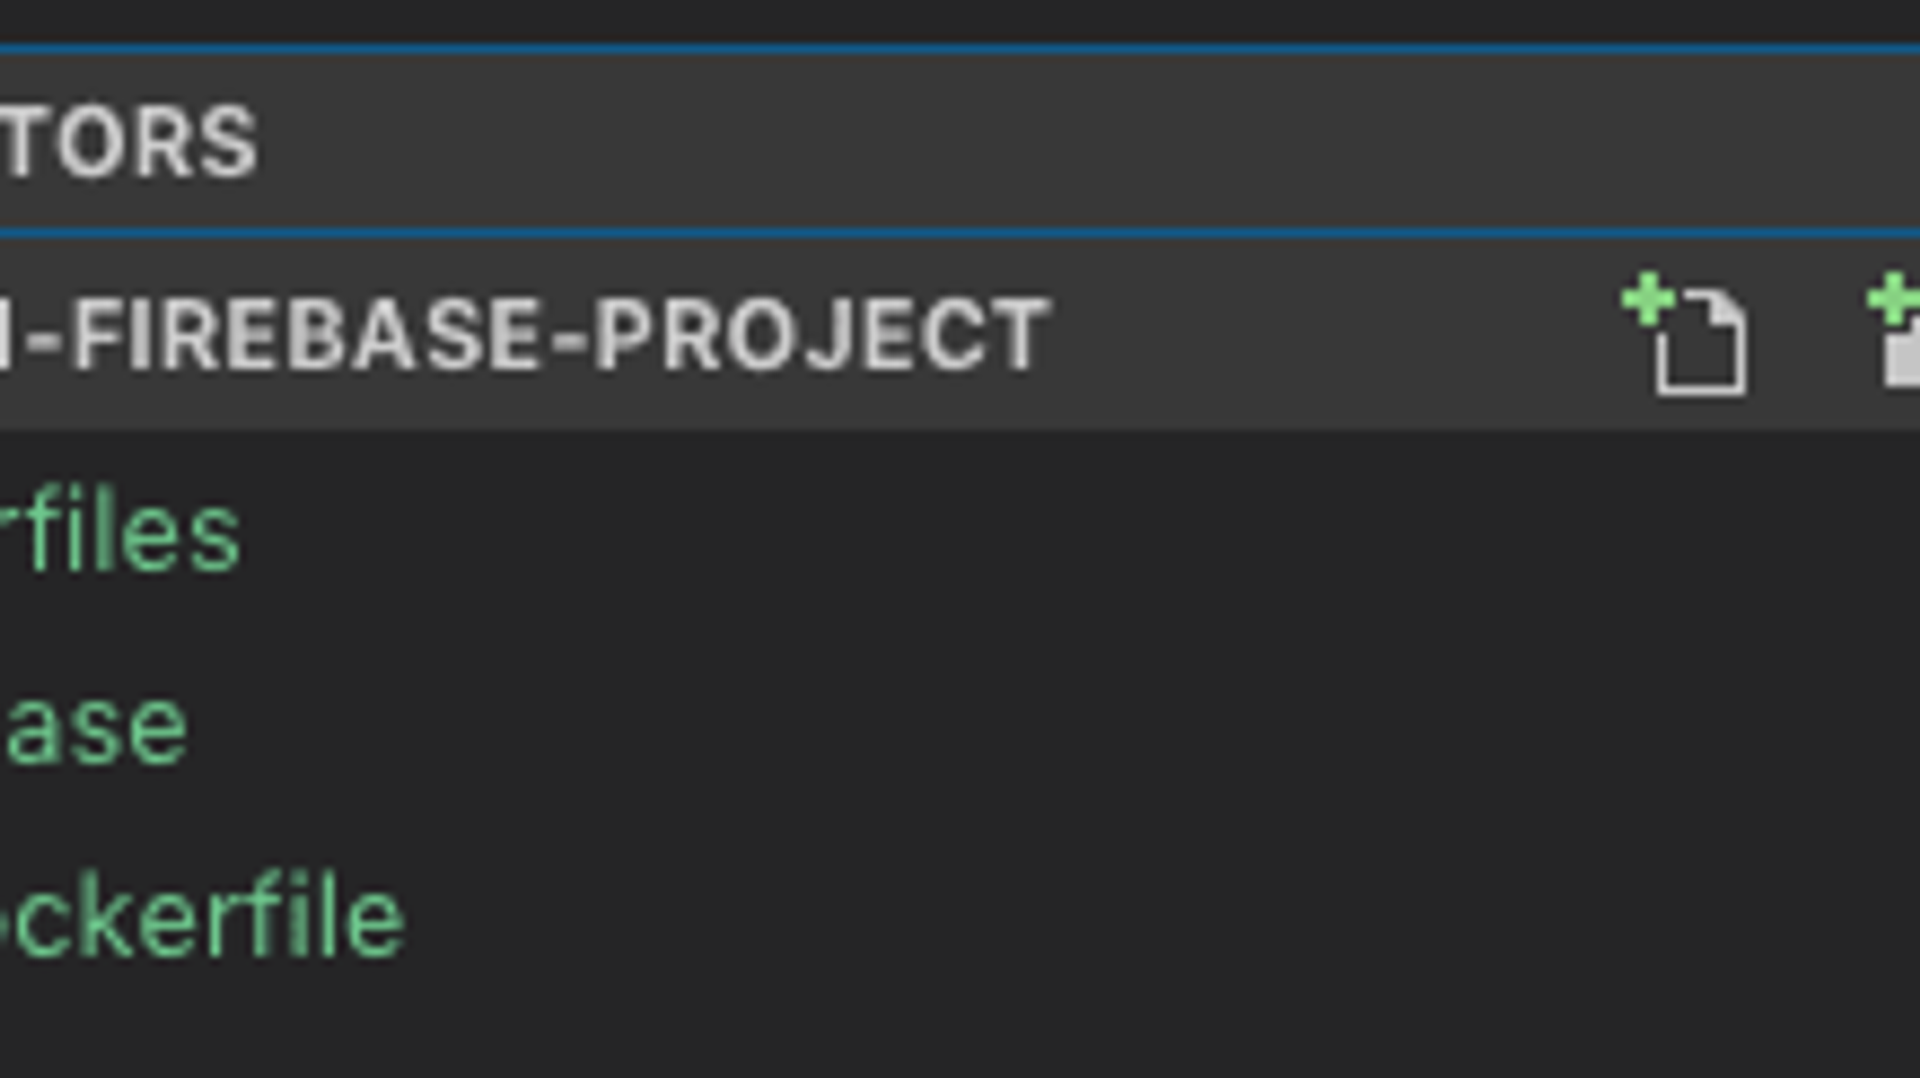
This Dockerfile is utilizing a prebuilt node image from node. dockerfiles/firebase/Dockerfile
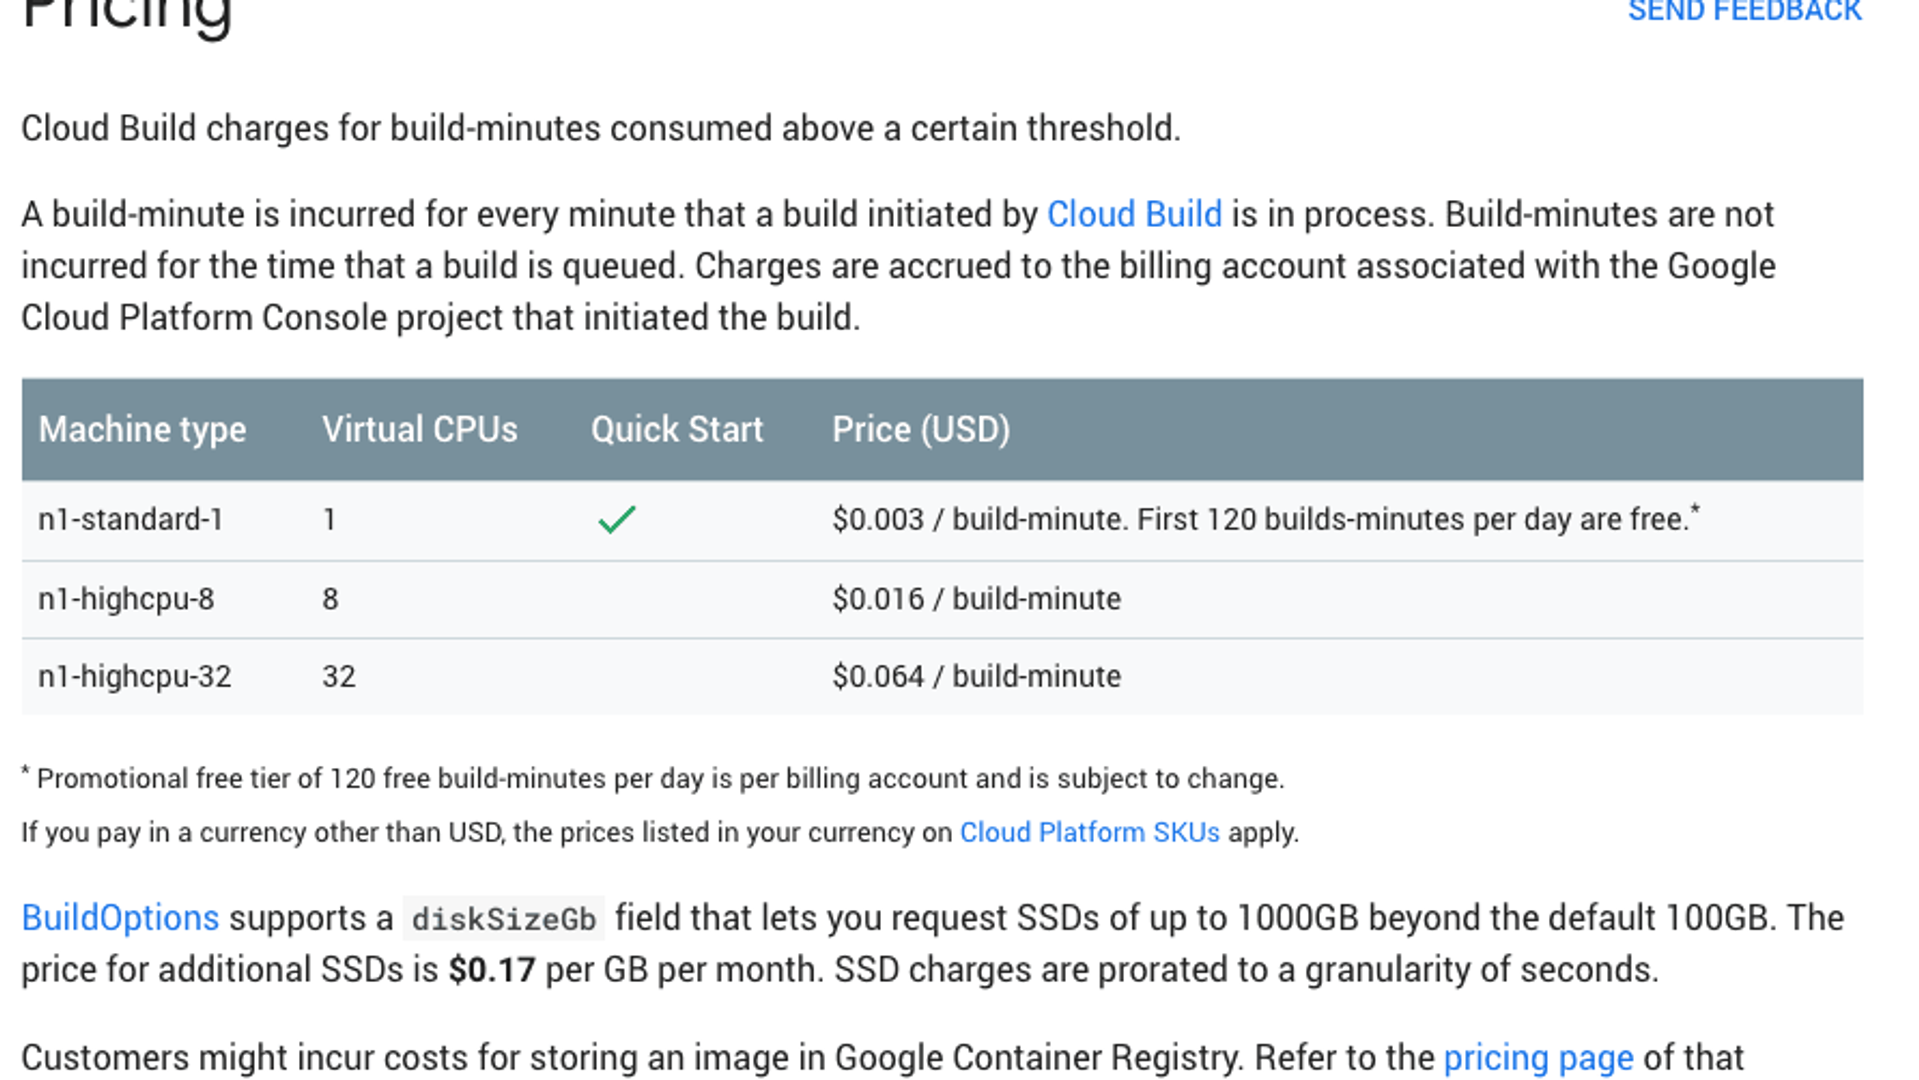
We need to make sure that billing and the cloud build API are setup. You can follow a great guide Enable Billing.
Again we are doing this on the cheap, other places will charge you a monthly fee for this. Google allows for 120 build minutes a day!!
Create Cloudbuild
This cloudbuild.yaml file will leverage the gcloud trigger. https://cloud.google.com/cloud-build/docs/cloud-builders
cloudbuild.yaml (place in root directory)
steps:
# Build the firebase image
- name: 'gcr.io/cloud-builders/docker' args: [ 'build', '-t', 'gcr.io/$PROJECT_ID/firebase', './dockerfiles/firebase' ]
# Deploy to firebase
- name: 'gcr.io/$PROJECT_ID/firebase' args: ['deploy', '--token', '${_FIREBASE_TOKEN}']
# Optionally you can keep the build images
# images: ['gcr.io/$PROJECT_ID/hugo', 'gcr.io/$PROJECT_ID/firebase']
You may have noticed an interesting line here, this allows for an argument called_FIREBASE_TOKENto be setup in our cloud deploy, so it doesn't leak out in our GitHub/GCP Repositories.args: ['deploy', '--token', '${_FIREBASE_TOKEN}']
We will need a token from firebase for this next Patterson
This will walk you through the process (same as login before). When this finishes back in the terminal you should receive a token like 1/8V_izvEco3KY8EXAMPLEONLYpnLGpGLPAvofC_0YX3qx2NE_Zxs Along with a message Example: firebase deploy --token "$FIREBASE_TOKEN"
You will need to capture this token, or leave your terminal open for setting up a trigger.
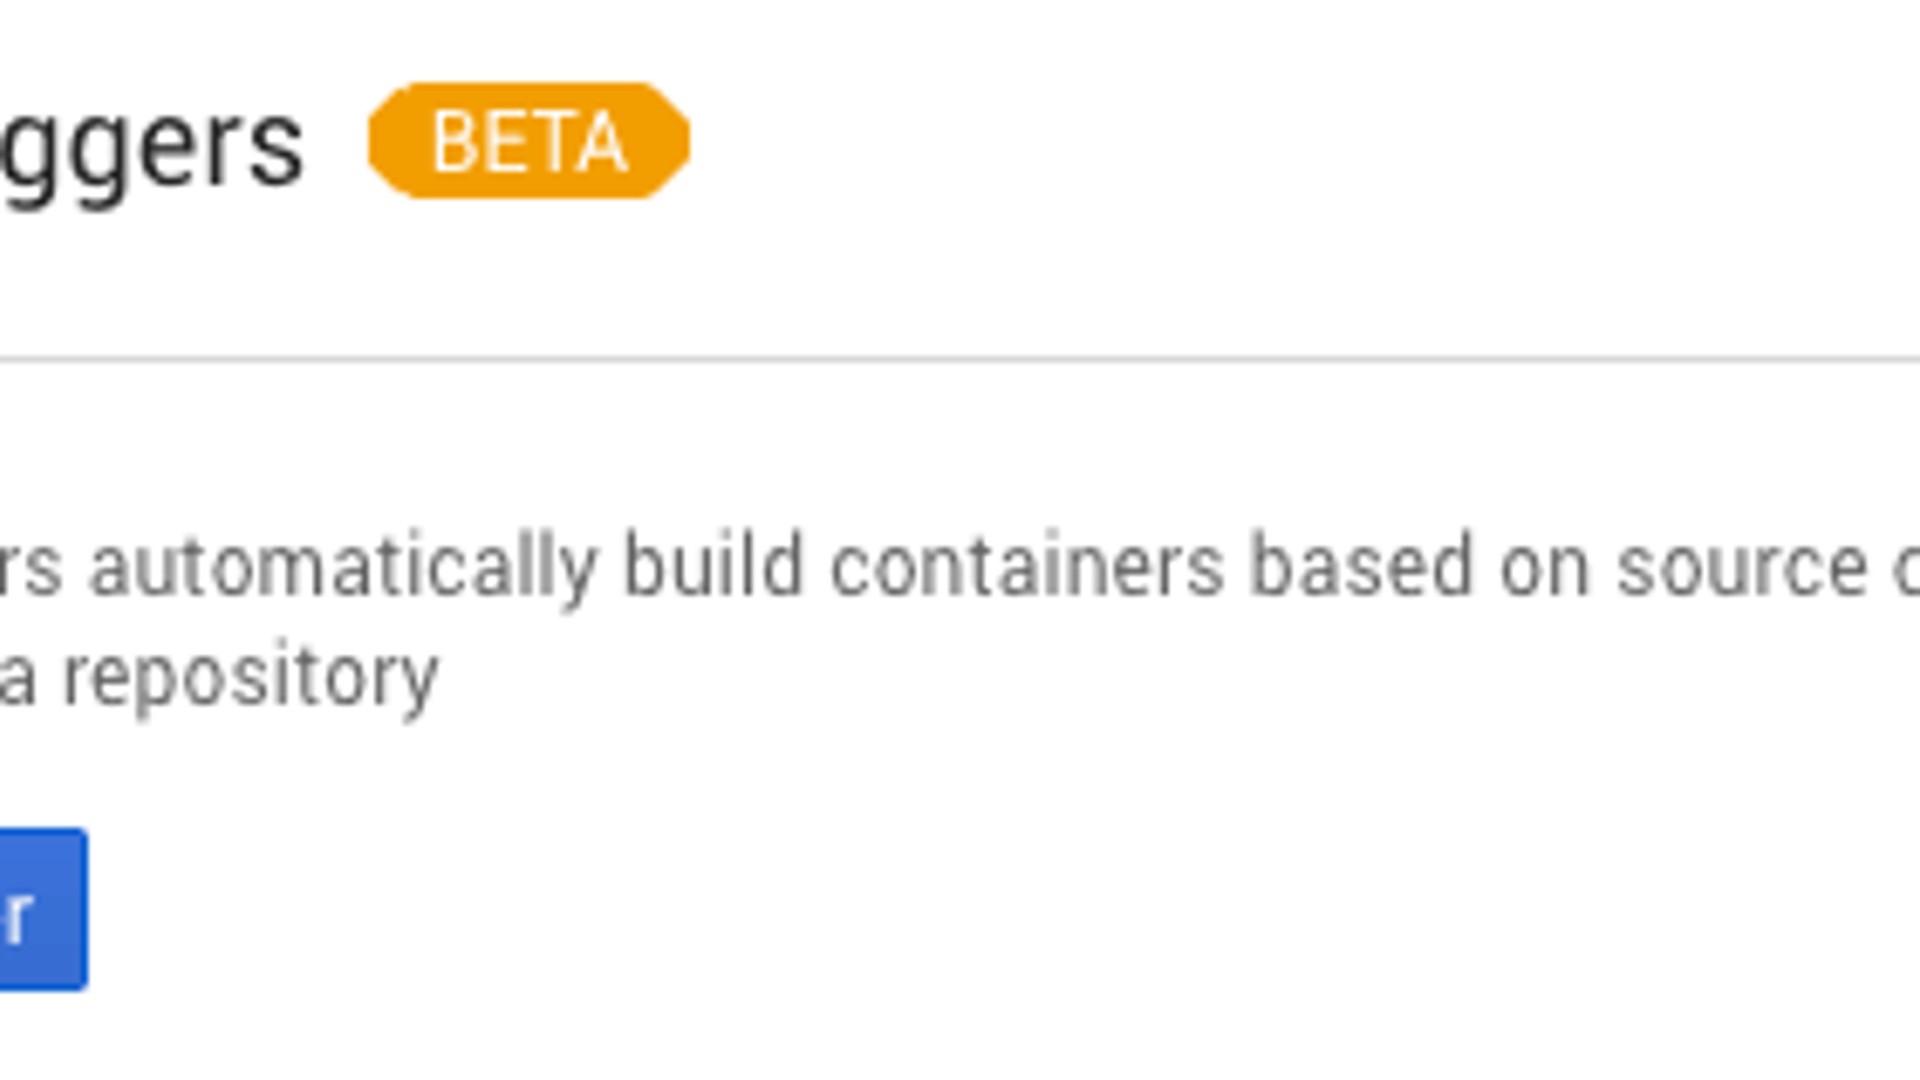
Setup trigger
Go back to Google Cloud Platform Console. Using the hamburger navigation Cloud Build > Triggers.
Github Trigger
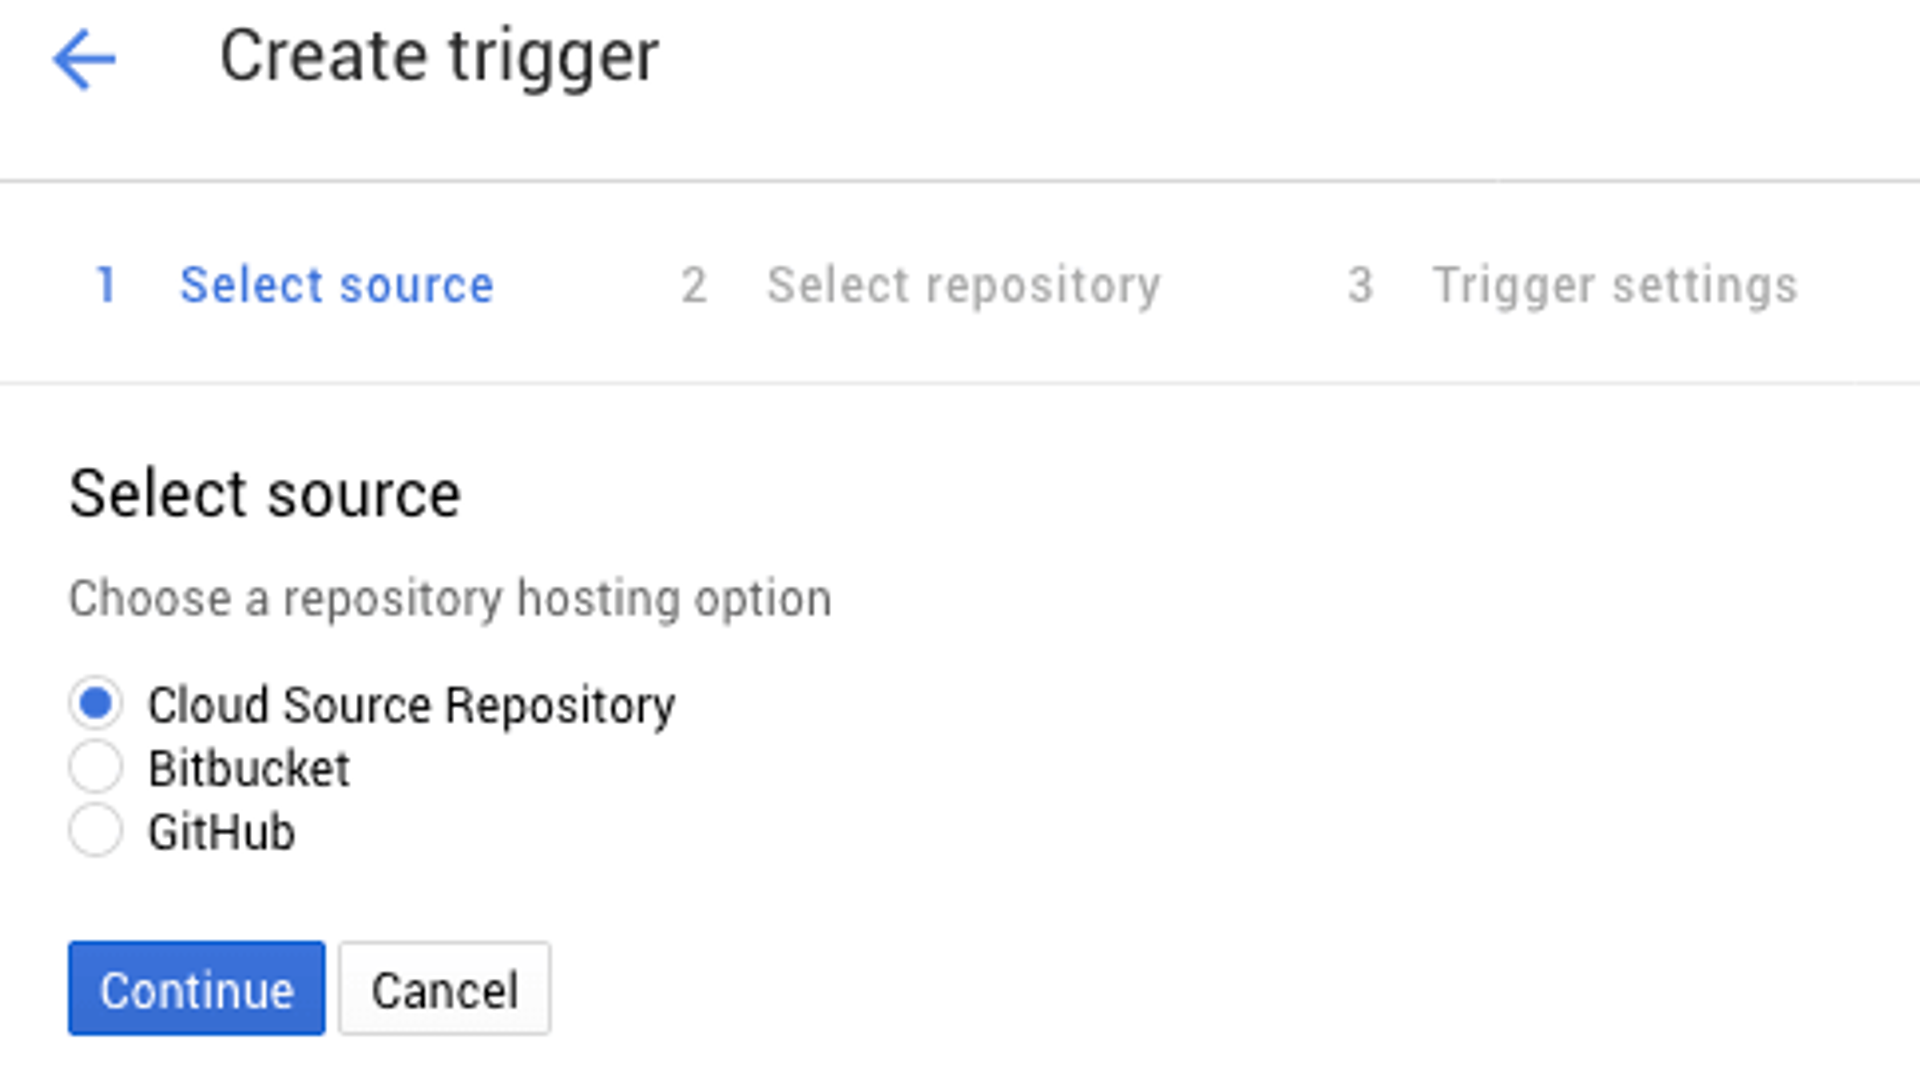
Select Github as source, then authenticate.
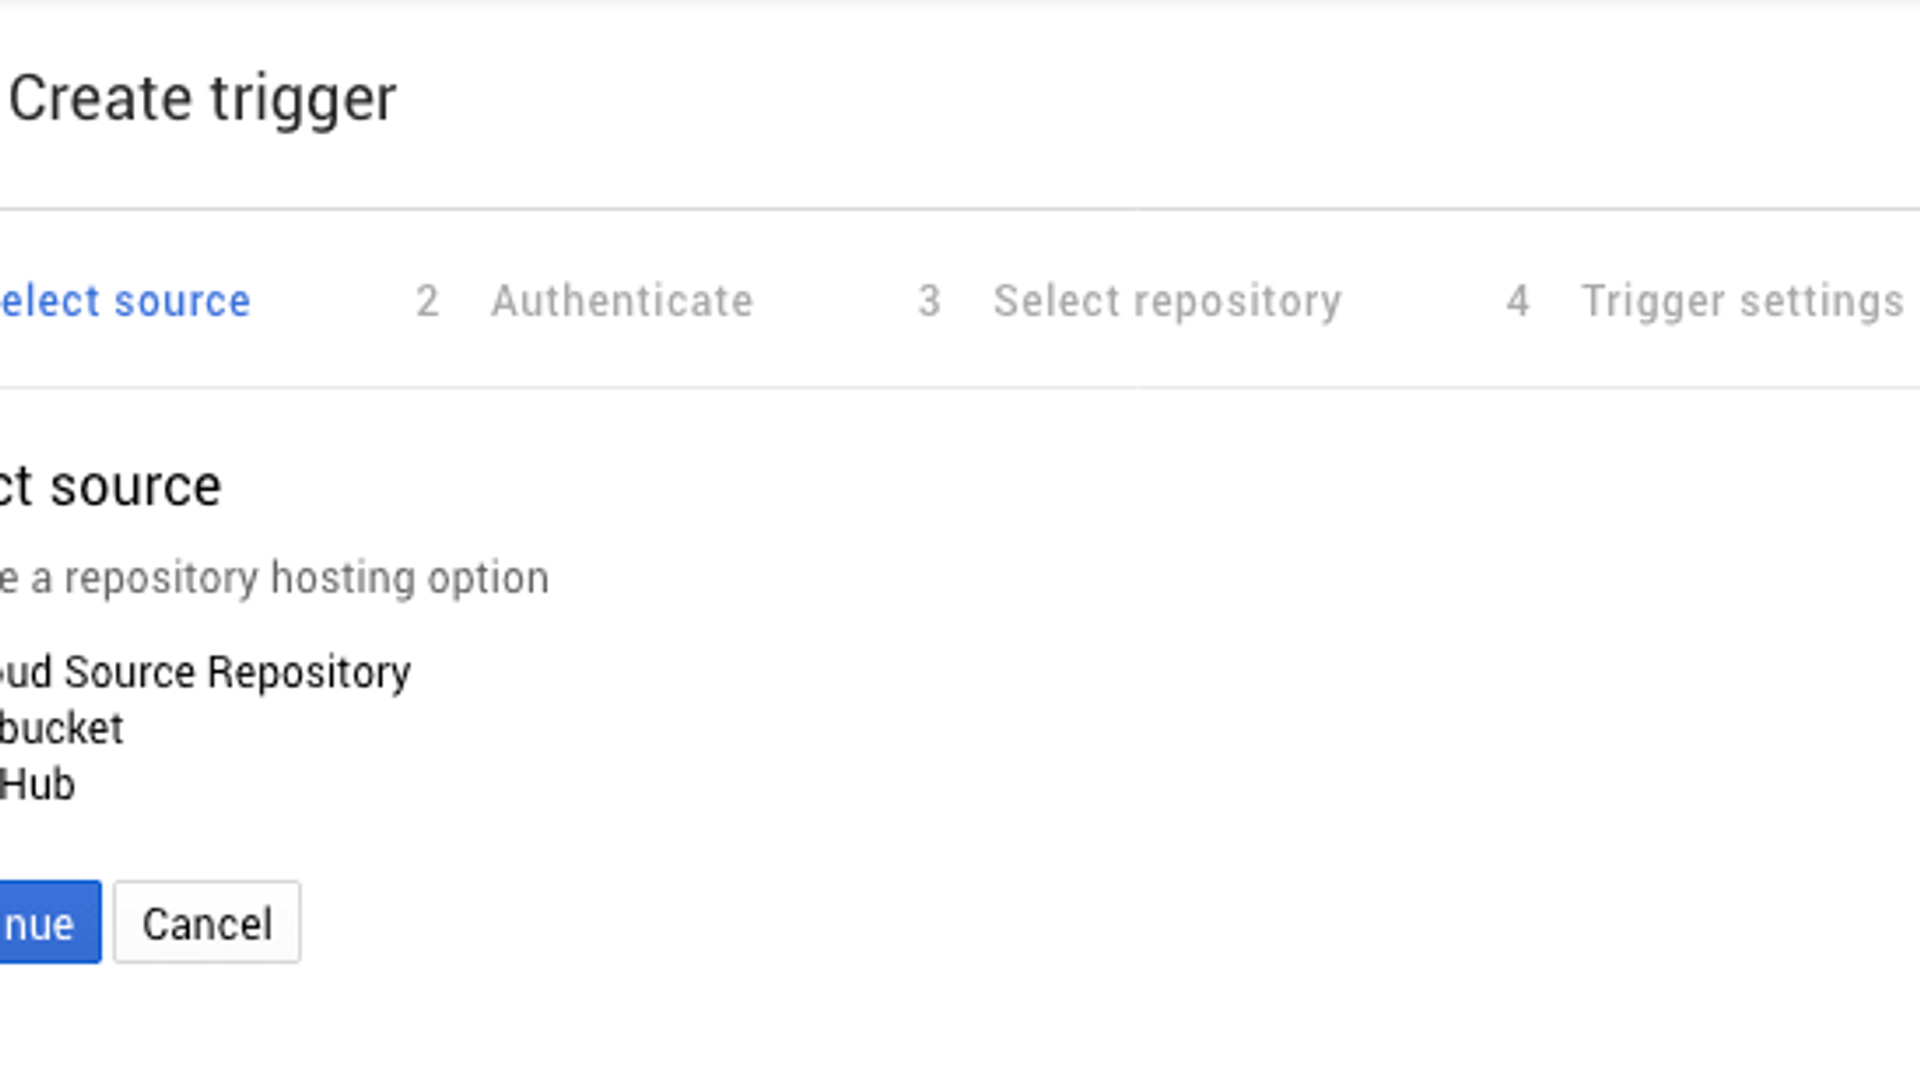
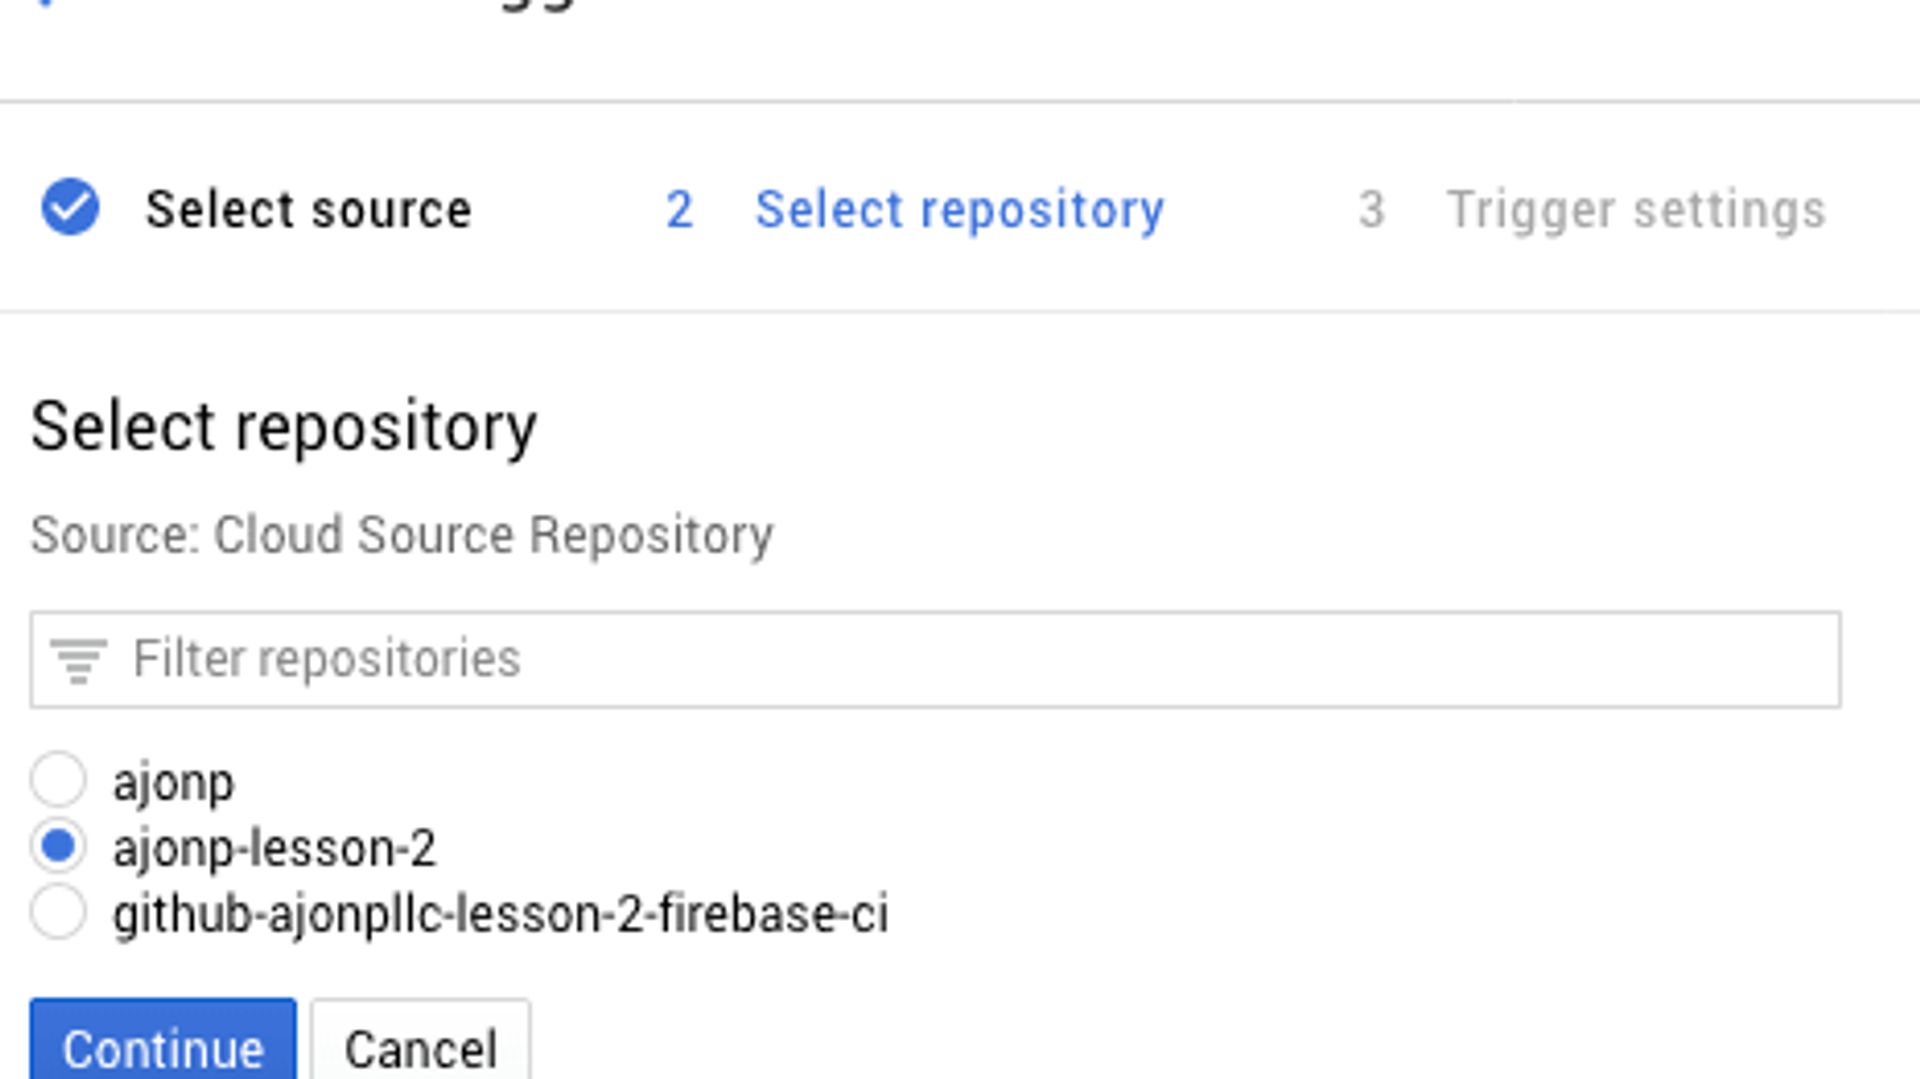
Select Repository

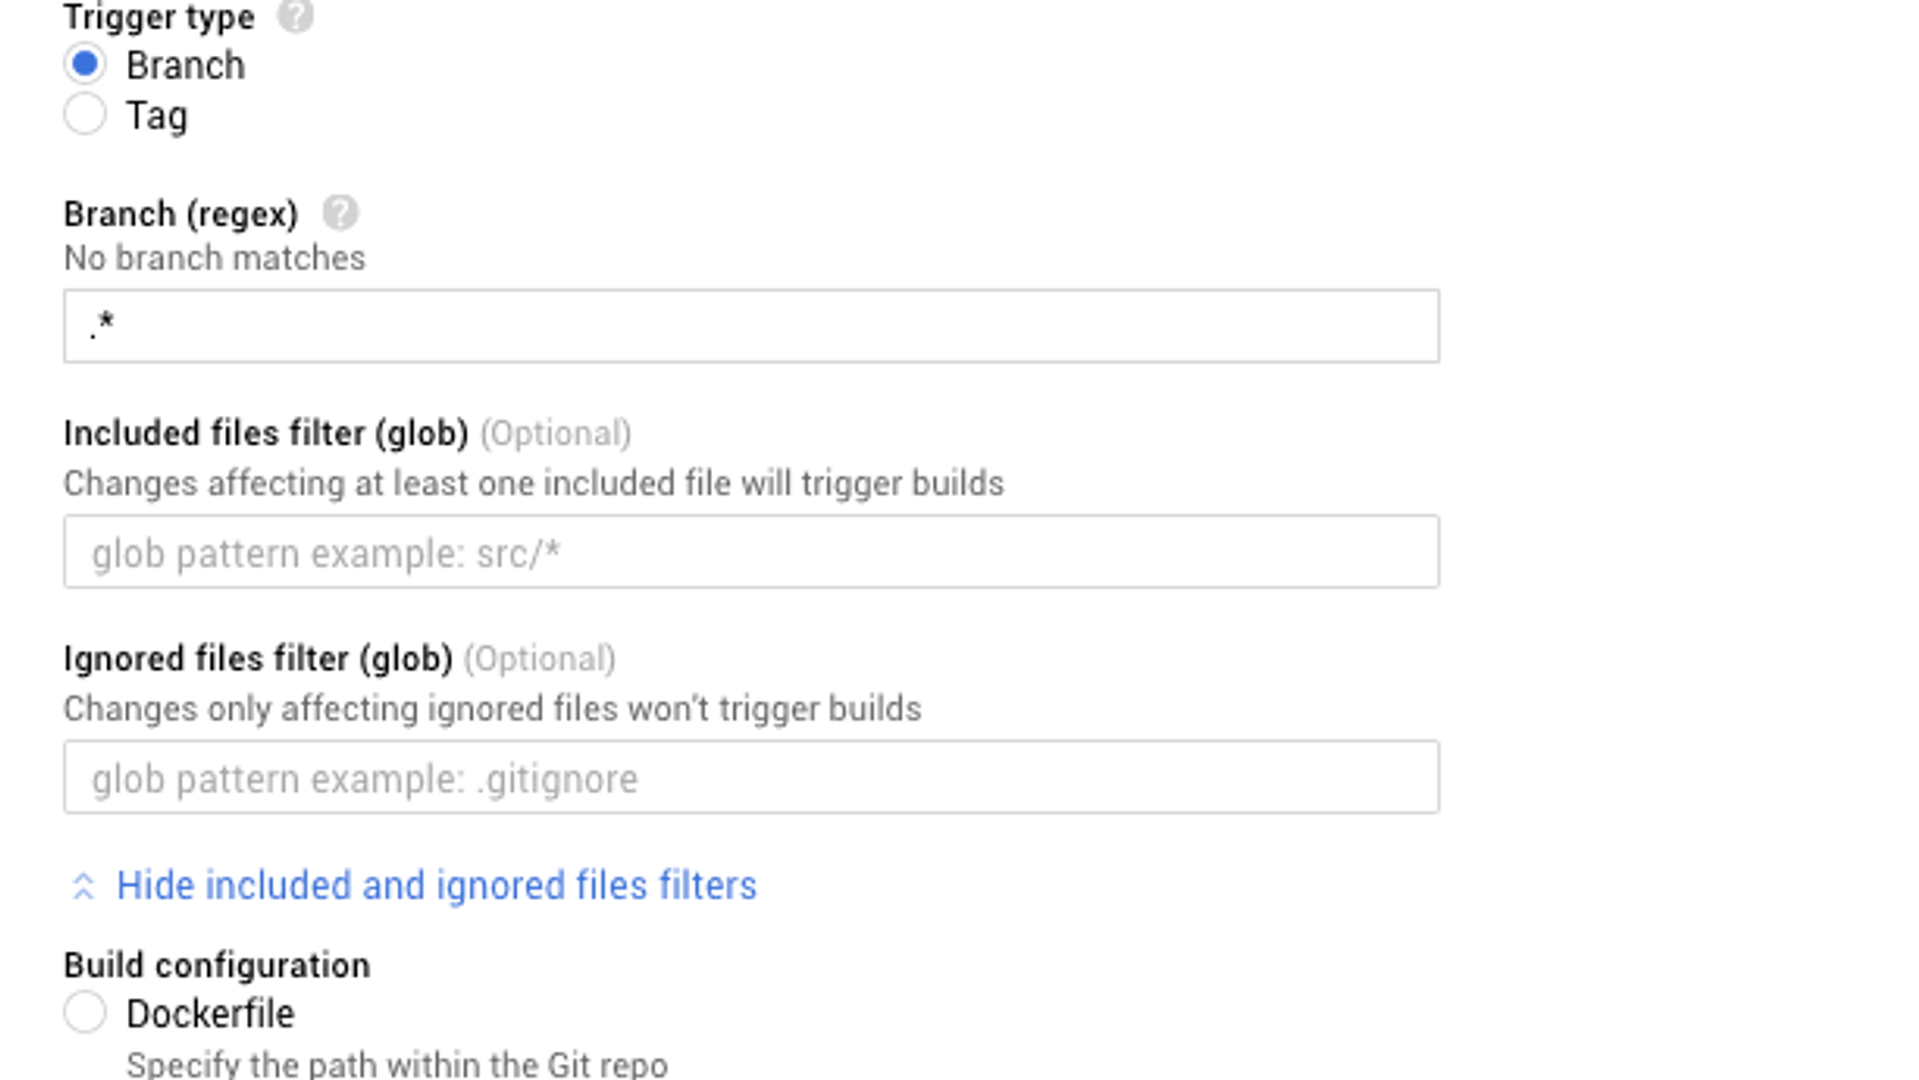
Setup Trigger Settings
Pay close attention to add the Firebase Token from the steps above.
GitHub Commit for trigger
Now you can run the commands to add the changes dockerfile and cloudbuild.yaml
Now remember we have commited these changes locally, we still need to push them to origin (which is our GitHub remote)
You can now check that your trigger didn't fail by going to Google Cloud Platform - Cloud Build History
Google Source Repository Trigger
This will be the identical setup.
Now we just need to push to a different remote (Google Cloud Repository)
Update Content - see CI/CD in Action
Update your index file to show something changed.
public/index.html
<!DOCTYPE html>
<html>
	<head>
		<meta charset="utf-8" />
		<meta name="viewport" content="width=device-width, initial-scale=1" />
		<title>Welcome to Firebase Hosting</title>
	</head>

	<body>
		Firebase is not building everytime I commit, just from following<a
			href="https://ajonp.com/lessons/2-firebase-ci/"
			>Google Cloud Repositories CI/CD</a
		>
		<img
			src="https://cdn.sanity.io/images/hfh83o0w/dev/ff5819091dc1986c997b7c63c0341a47027518b8-1280x720.webp"
			alt="Hero Image"
		/>
	</body>
</html>
Add, commit, push files
git add . git commit -m "CI/CD" git push --set-upstream google master