


Learn Svelte: The Ultimate Guide - Transitions and Animations
Lesson 12 / 14Course Lessons Outline▾
- 1.1Learn Svelte: The Ultimate Guide - What is Svelte?
- 1.2Learn Svelte: The Ultimate Guide - Getting Started
- 1.3Learn Svelte: The Ultimate Guide - Starting to Code
- 1.4Learn Svelte: The Ultimate Guide - Components and Props
- 1.5Learn Svelte: The Ultimate Guide - Inputs Bindings and Reactivity
- 1.6Learn Svelte: The Ultimate Guide - Basic Events
- 1.7Learn Svelte: The Ultimate Guide - Component Events and Forwarding
- 1.8Learn Svelte: The Ultimate Guide - Conditionals and Loops
- 1.9Learn Svelte: The Ultimate Guide - CSS Basics
- 1.10Learn Svelte: The Ultimate Guide - How to call an API
- 1.11Learn Svelte: The Ultimate Guide - Await Block
- 1.12Learn Svelte: The Ultimate Guide - Transitions and Animations
- 1.13Learn Svelte: The Ultimate Guide - Component Lifecycle
- 1.14Learn Svelte: The Ultimate Guide - Data Stores
Svelte is a modern and powerful front-end framework that allows developers to create dynamic and reactive user interfaces with ease. One of the key features of Svelte is its ability to create transitions and animations that enhance the user experience.
In this blog post, we will explore how to use Svelte transitions and animations with code examples.
Transitions in Svelte
Transitions in Svelte are used to create smooth animations when an element is added, removed, or updated. Svelte provides several built-in transition functions that can be used out of the box, such as fade, slide, fly, and scale.
Let's take a look at an example of using the fade transition:
<script>
	import { fade } from 'svelte/transition';

	let show = true;

	function toggle() {
		show = !show;
	}
</script>

<button on:click={toggle}>Toggle</button>

{#if show}
	<div transition:fade>Content that fades in and out</div>
{/if}
In the above code, we import the fade transition from the svelte/transition module. We also create a boolean variable show and a function toggle that toggles the value of show when the button is clicked.
When show is true, the content inside the if block is rendered with the fade transition. When show is false, the content is removed with the fade transition.
Animations in Svelte
Animations in Svelte are used to create more complex and dynamic animations. Svelte provides several built-in animation functions that can be used out of the box, such as spring, tweened, and crossfade.
Let's take a look at an example of using the spring animation:
<script>
	import { spring } from 'svelte/motion';

	let x = 0;

	function move() {
		x = x === 0 ? 100 : 0;
	}
</script>

<button on:click={move}>Move</button>

<div style="position: absolute; left: {x}px;" animate:{{ left: spring(x) }}>
	Content that moves left and right
</div>
In the above code, we import the spring animation from the svelte/motion module. We also create a variable x and a function move that toggles the value of x between 0 and 100 when the button is clicked.
The div element has a style attribute that positions it absolutely and sets its left property to the current value of x.
The animate directive on the div element uses the spring animation to animate the left property of the div element to the new value of x when it changes.
Conclusion
Svelte transitions and animations provide powerful tools for creating dynamic and engaging user interfaces. With the built-in transition and animation functions, it's easy to add smooth and fluid animations to your Svelte components.
In this blog post, we've seen some examples of how to use transitions and animations in Svelte. However, there are many more functions and options available in the Svelte documentation, so be sure to check it out to learn more.
how this course connects together.
Follow AJ through the layered stack topology from input contract to production output.
related deep dives.
View All→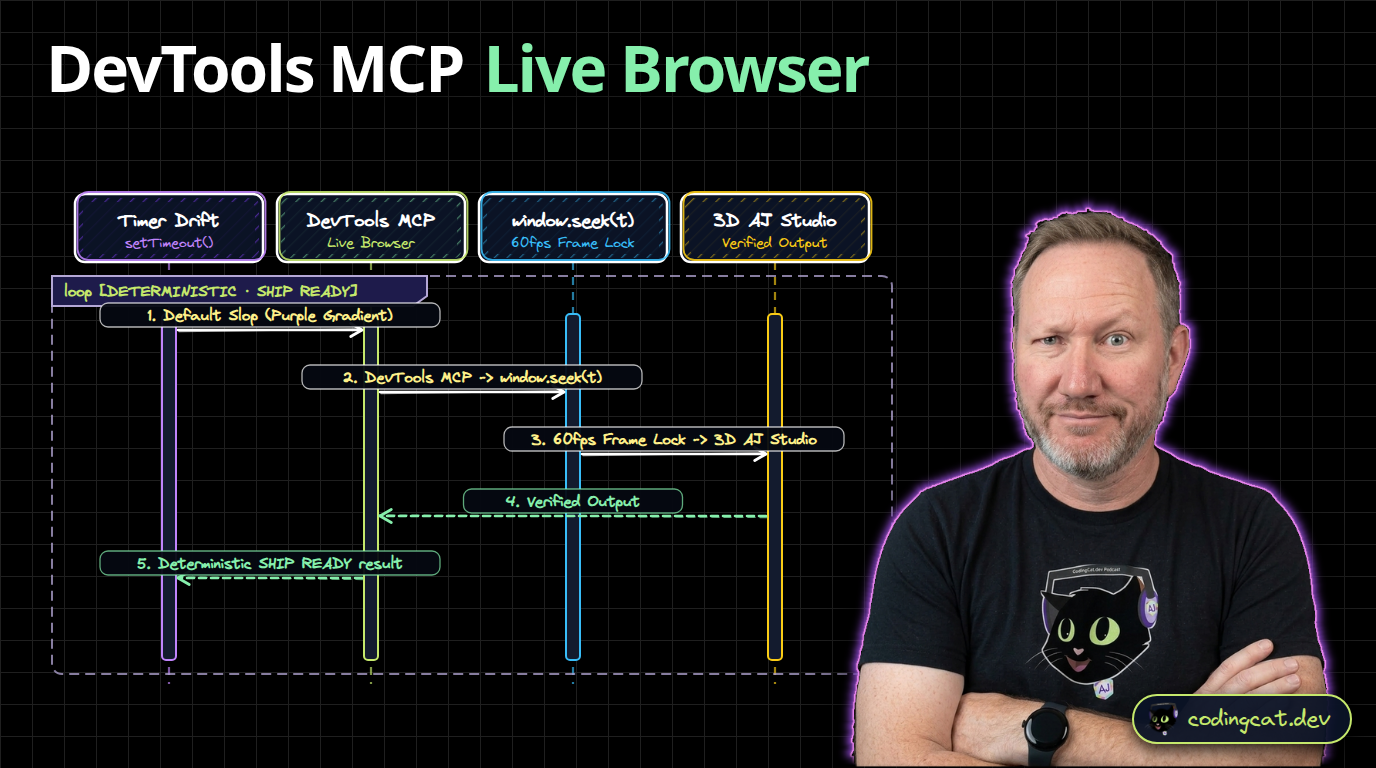


Chrome DevTools MCP: Self-Healing Agent Visual & Video Inspection
Give your AI agent eyes inside the browser. Use Chrome DevTools MCP so your agent inspects its own rendered video frames, WebGL canvases, and DOM layouts before exporting.

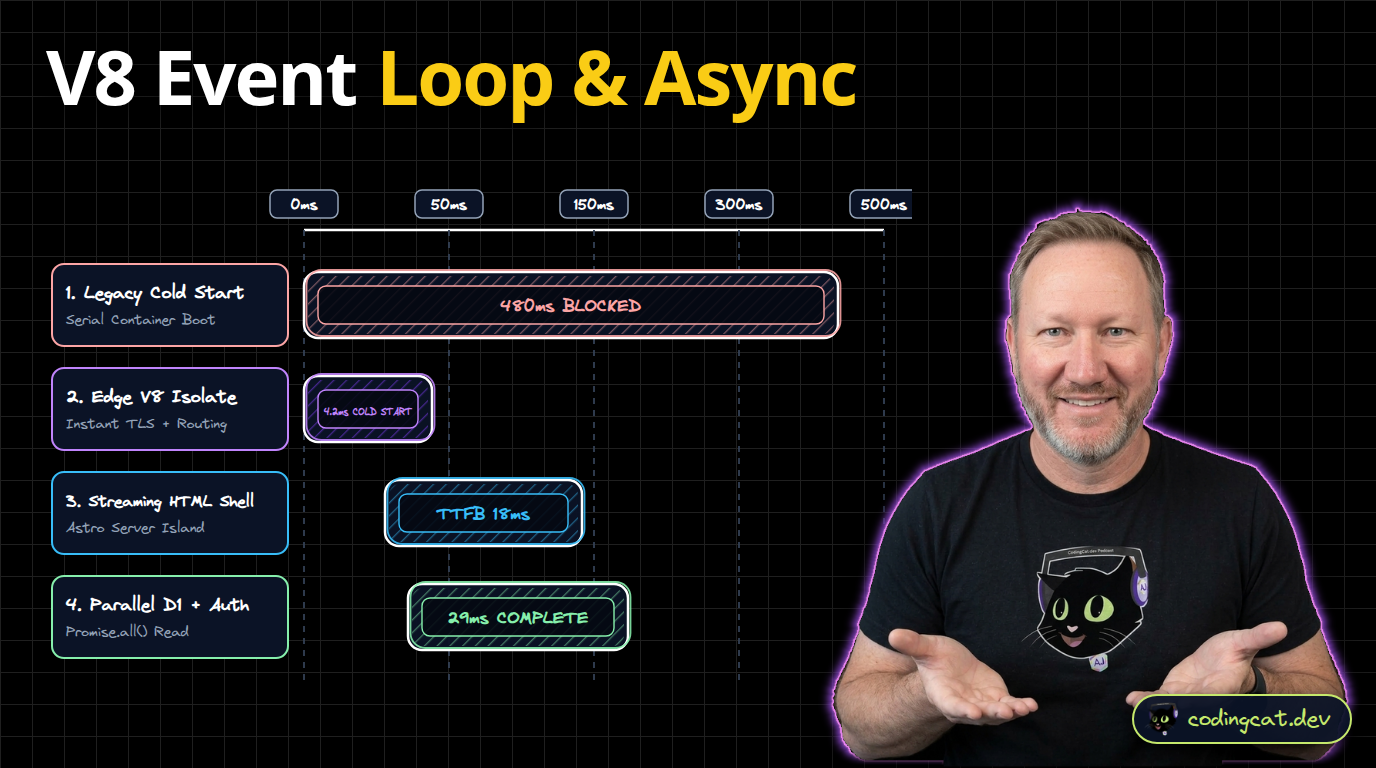
The Odin Project 4: JavaScript Deep Dive (Closures, Event Loop, Async & TDD)
Master lexical closures, ES Modules, the V8 Event Loop (microtasks vs. macrotasks), Promise concurrency, and Test-Driven Development with Vitest.